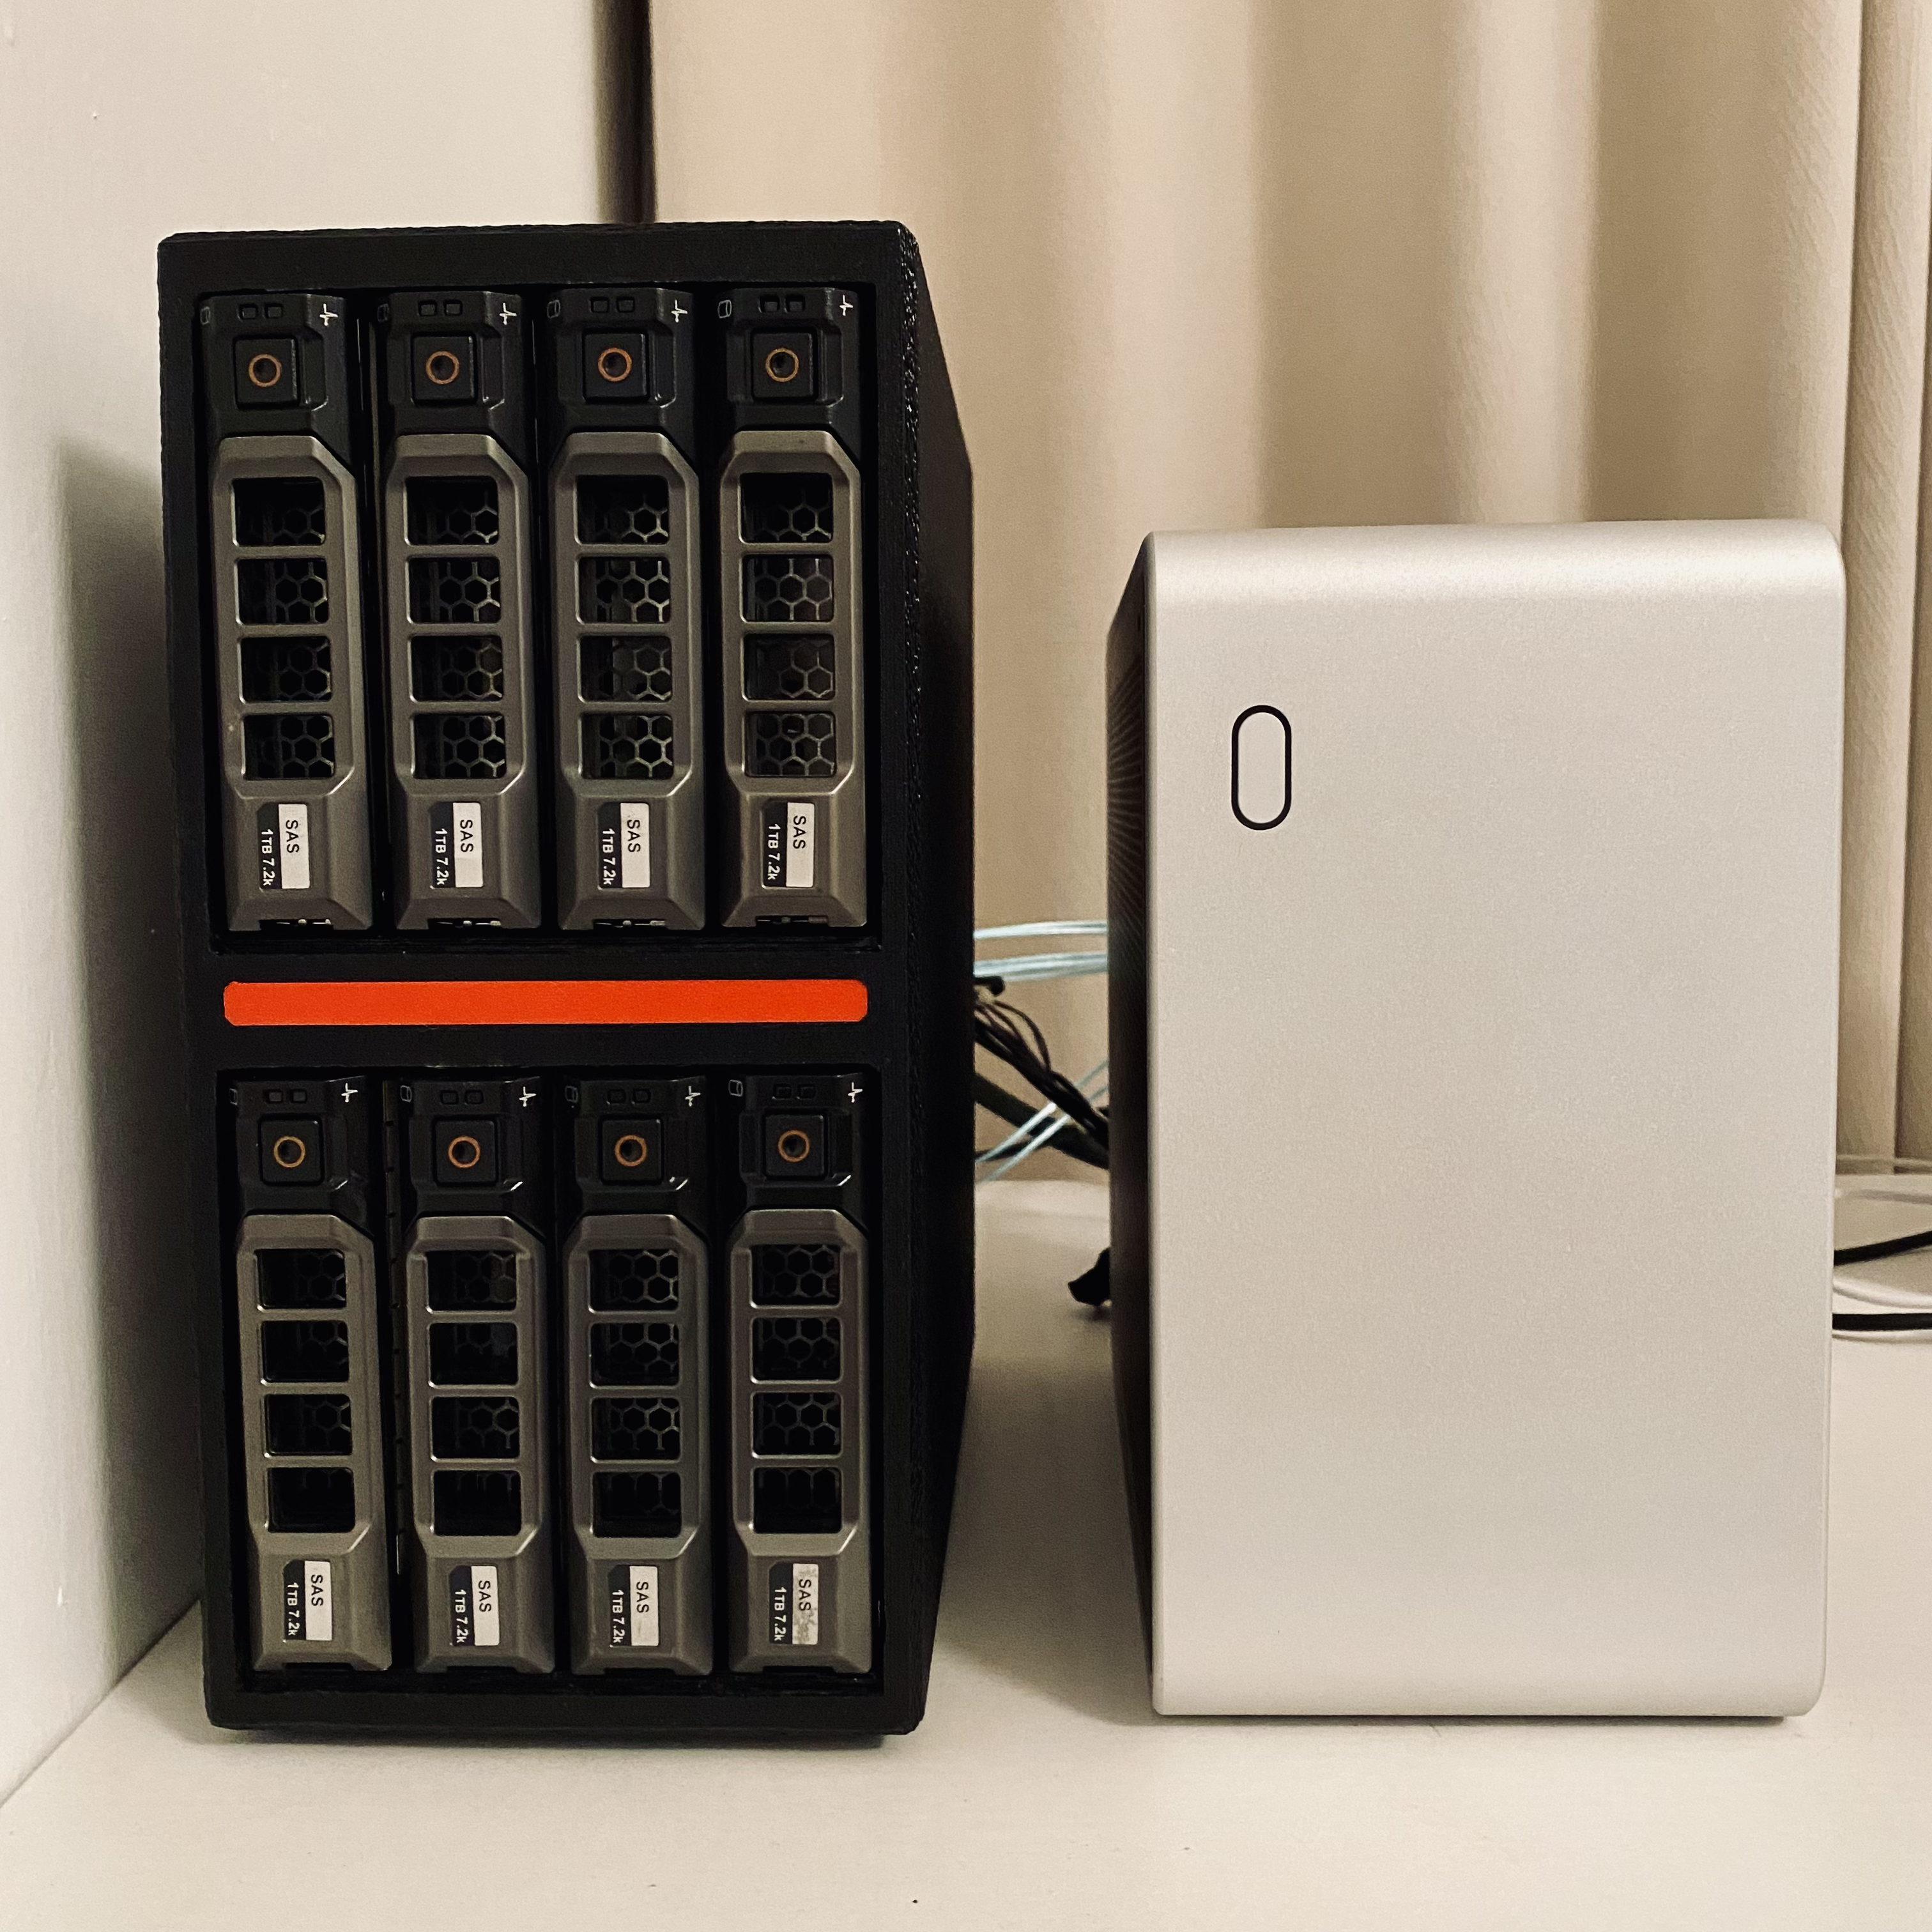
This is my new 37.544 TB DIY NAS, my first true NAS. Unlike many other DIY NAS setups, it separates the heavy 3.5-inch HDDs into a different case, resulting in a compact and elegant design while maintaining upgradability and ease of maintenance. It supports 9 SATA drives (8 of which can be 3.5 inches), 4 M.2 NVMe drives, and 7 USB 3 drives working simultaneously, making it a robust machine. Hopefully, it will enjoy a long and stable lifespan. 😉
Why to build a NAS
Before using a NAS, I was a digital hoarder with a lot of data stored on my local machine. I connected drives directly to my Mac using an ASM2464 USB 4 to M.2 adapter and a JMB585 PCIe to SATA controller. However, this setup had two major issues:
- No Redundancy: With ZFS not officially supported on macOS, I had to use the drives individually, which meant that if a drive failed, I needed to restore from a backup. However, this process takes an enormous amount of time, especially for large drives, and it had to be done manually.
- Poor Upgradability: Upgrading a smaller drive to a larger one required manually transferring all data. When the ports were full, this process became messy; either I needed to find empty space to temporarily store the data or take some of the disks offline.
Fortunately, OpenZFS solves these two problems perfectly, and I have some spare hardware. It’s time to build a NAS. 🤩
The specs
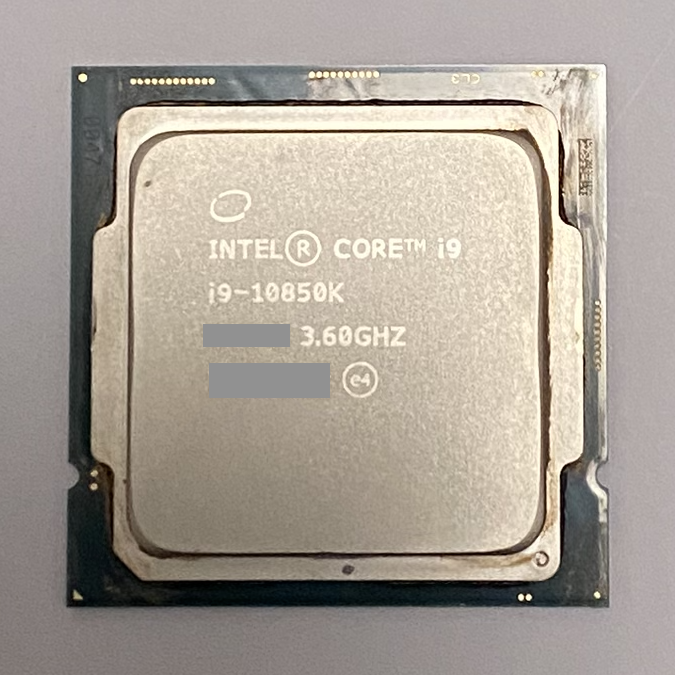
- CPU: Intel(R) Core(TM) i9-10850K CPU @ 3.60GHz
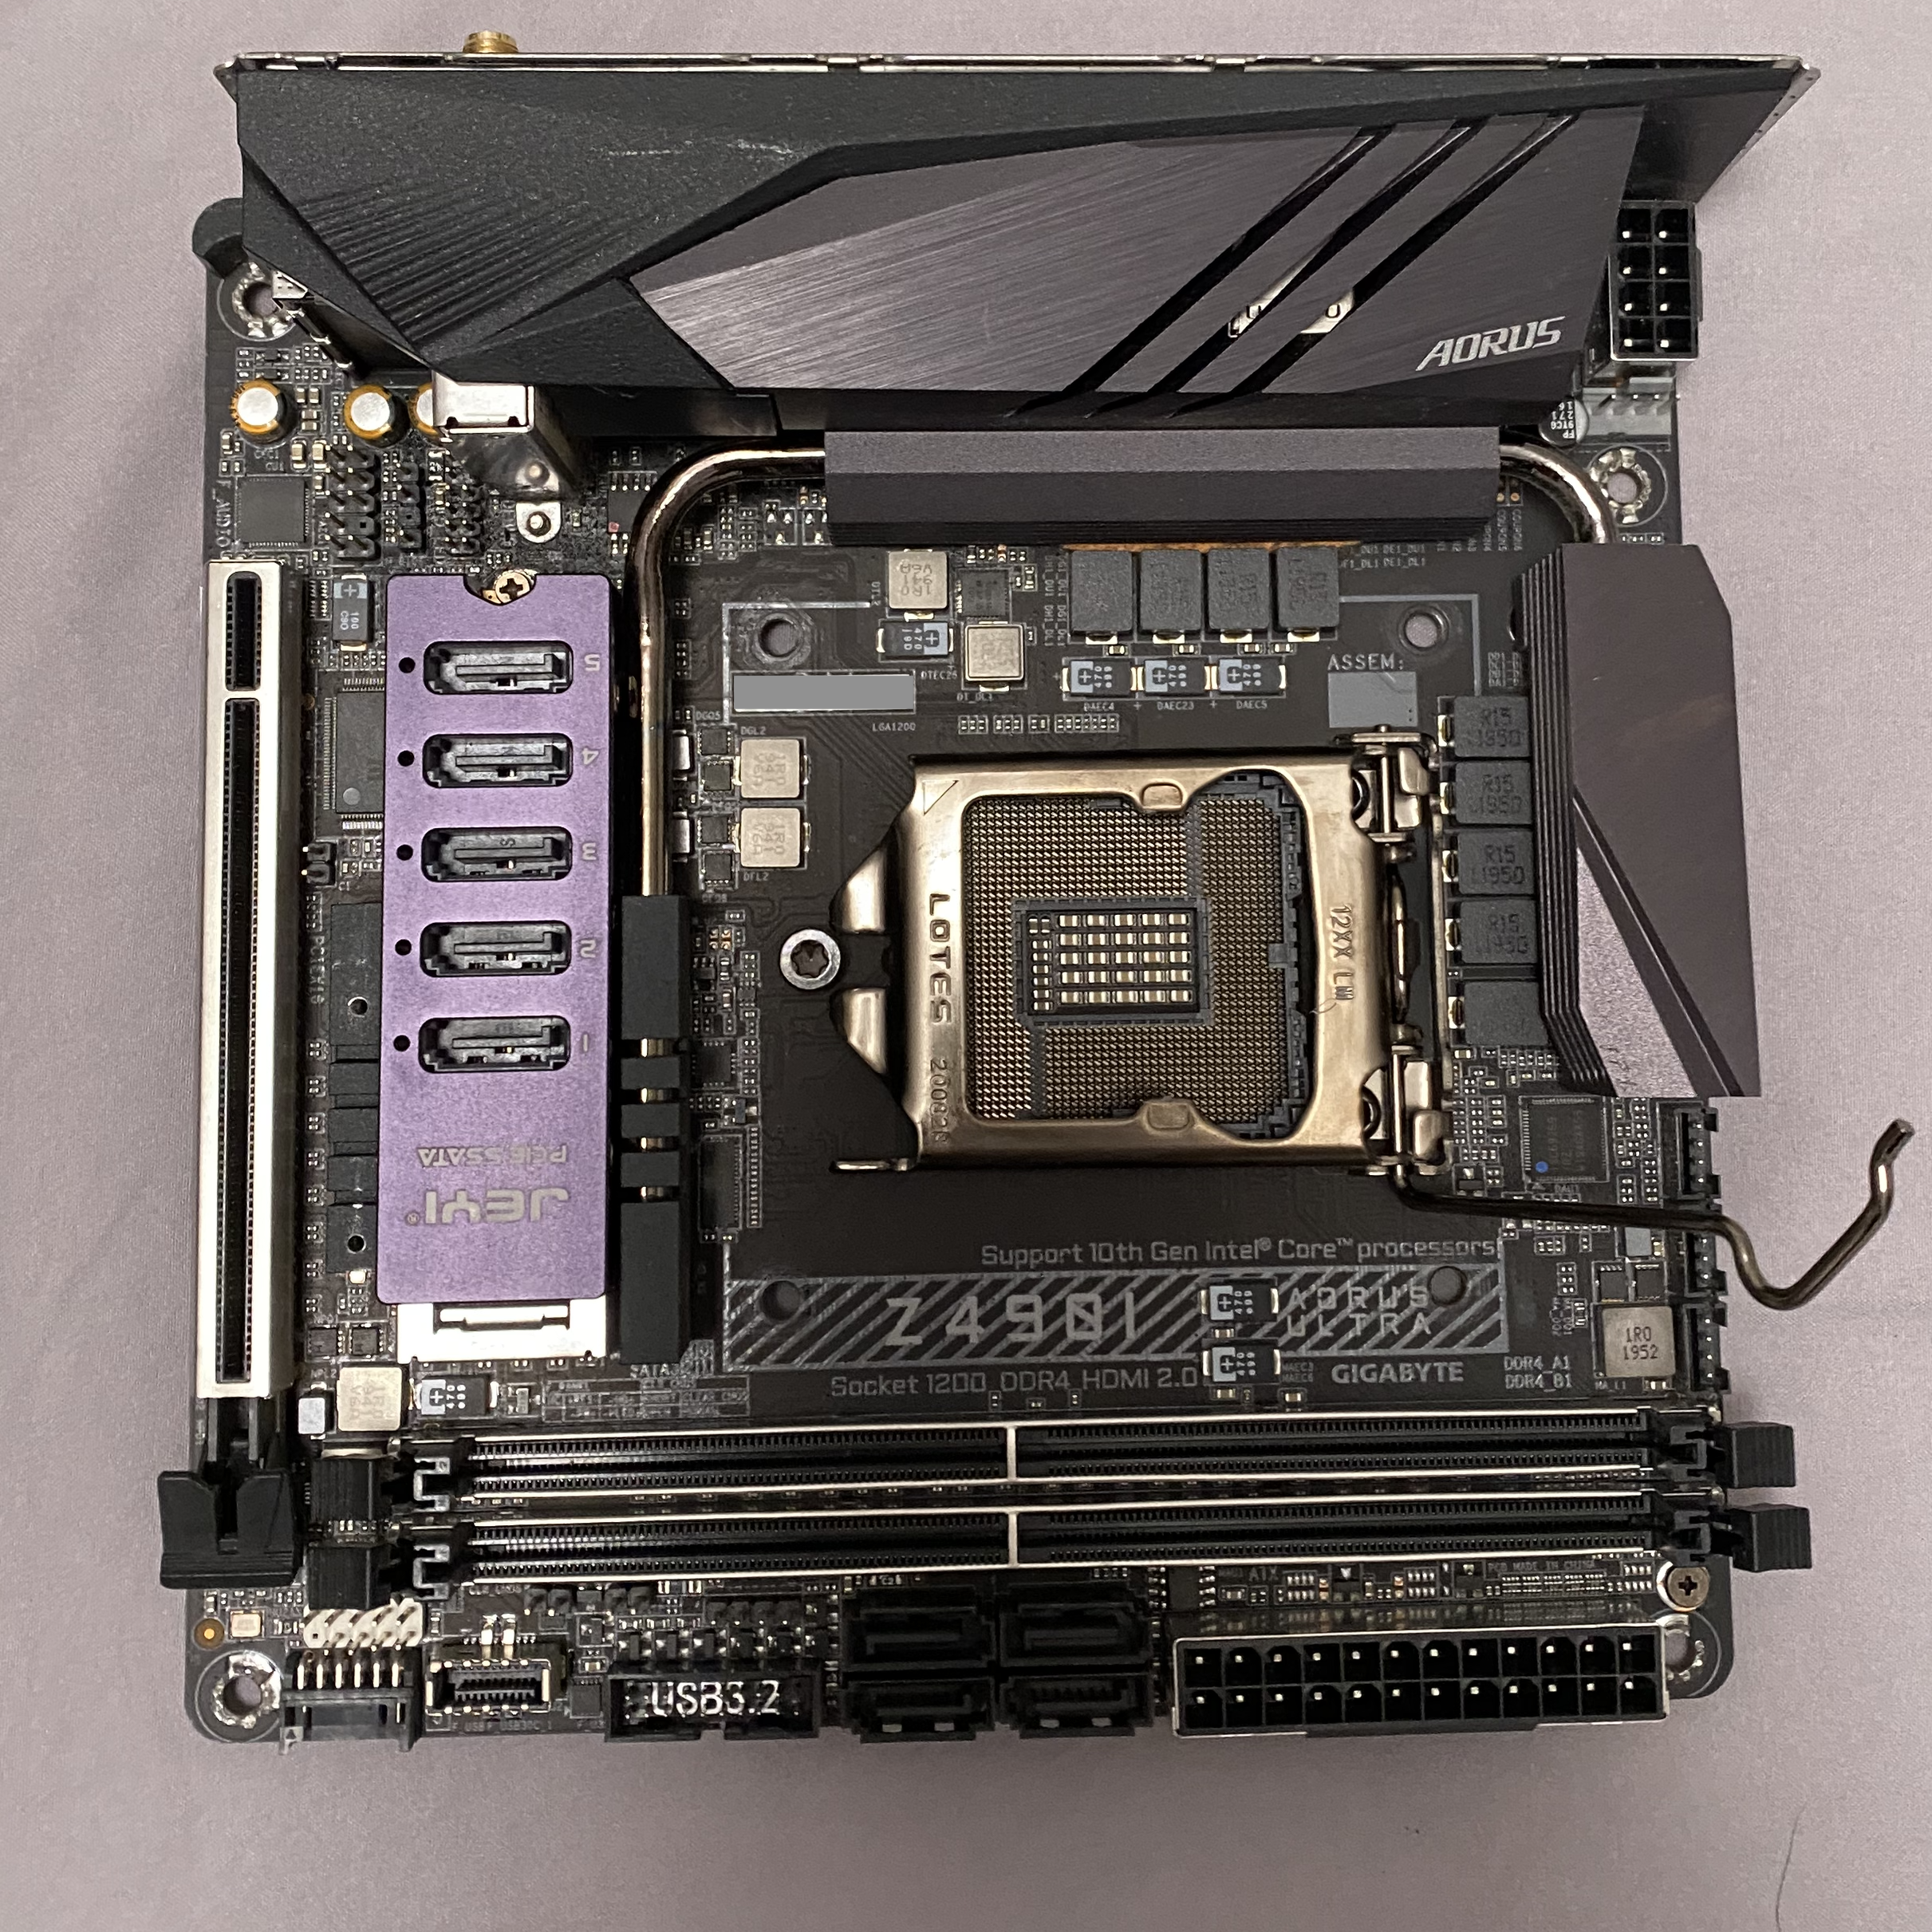
- MB: GIGABYTE Z490I AORUS ULTRA
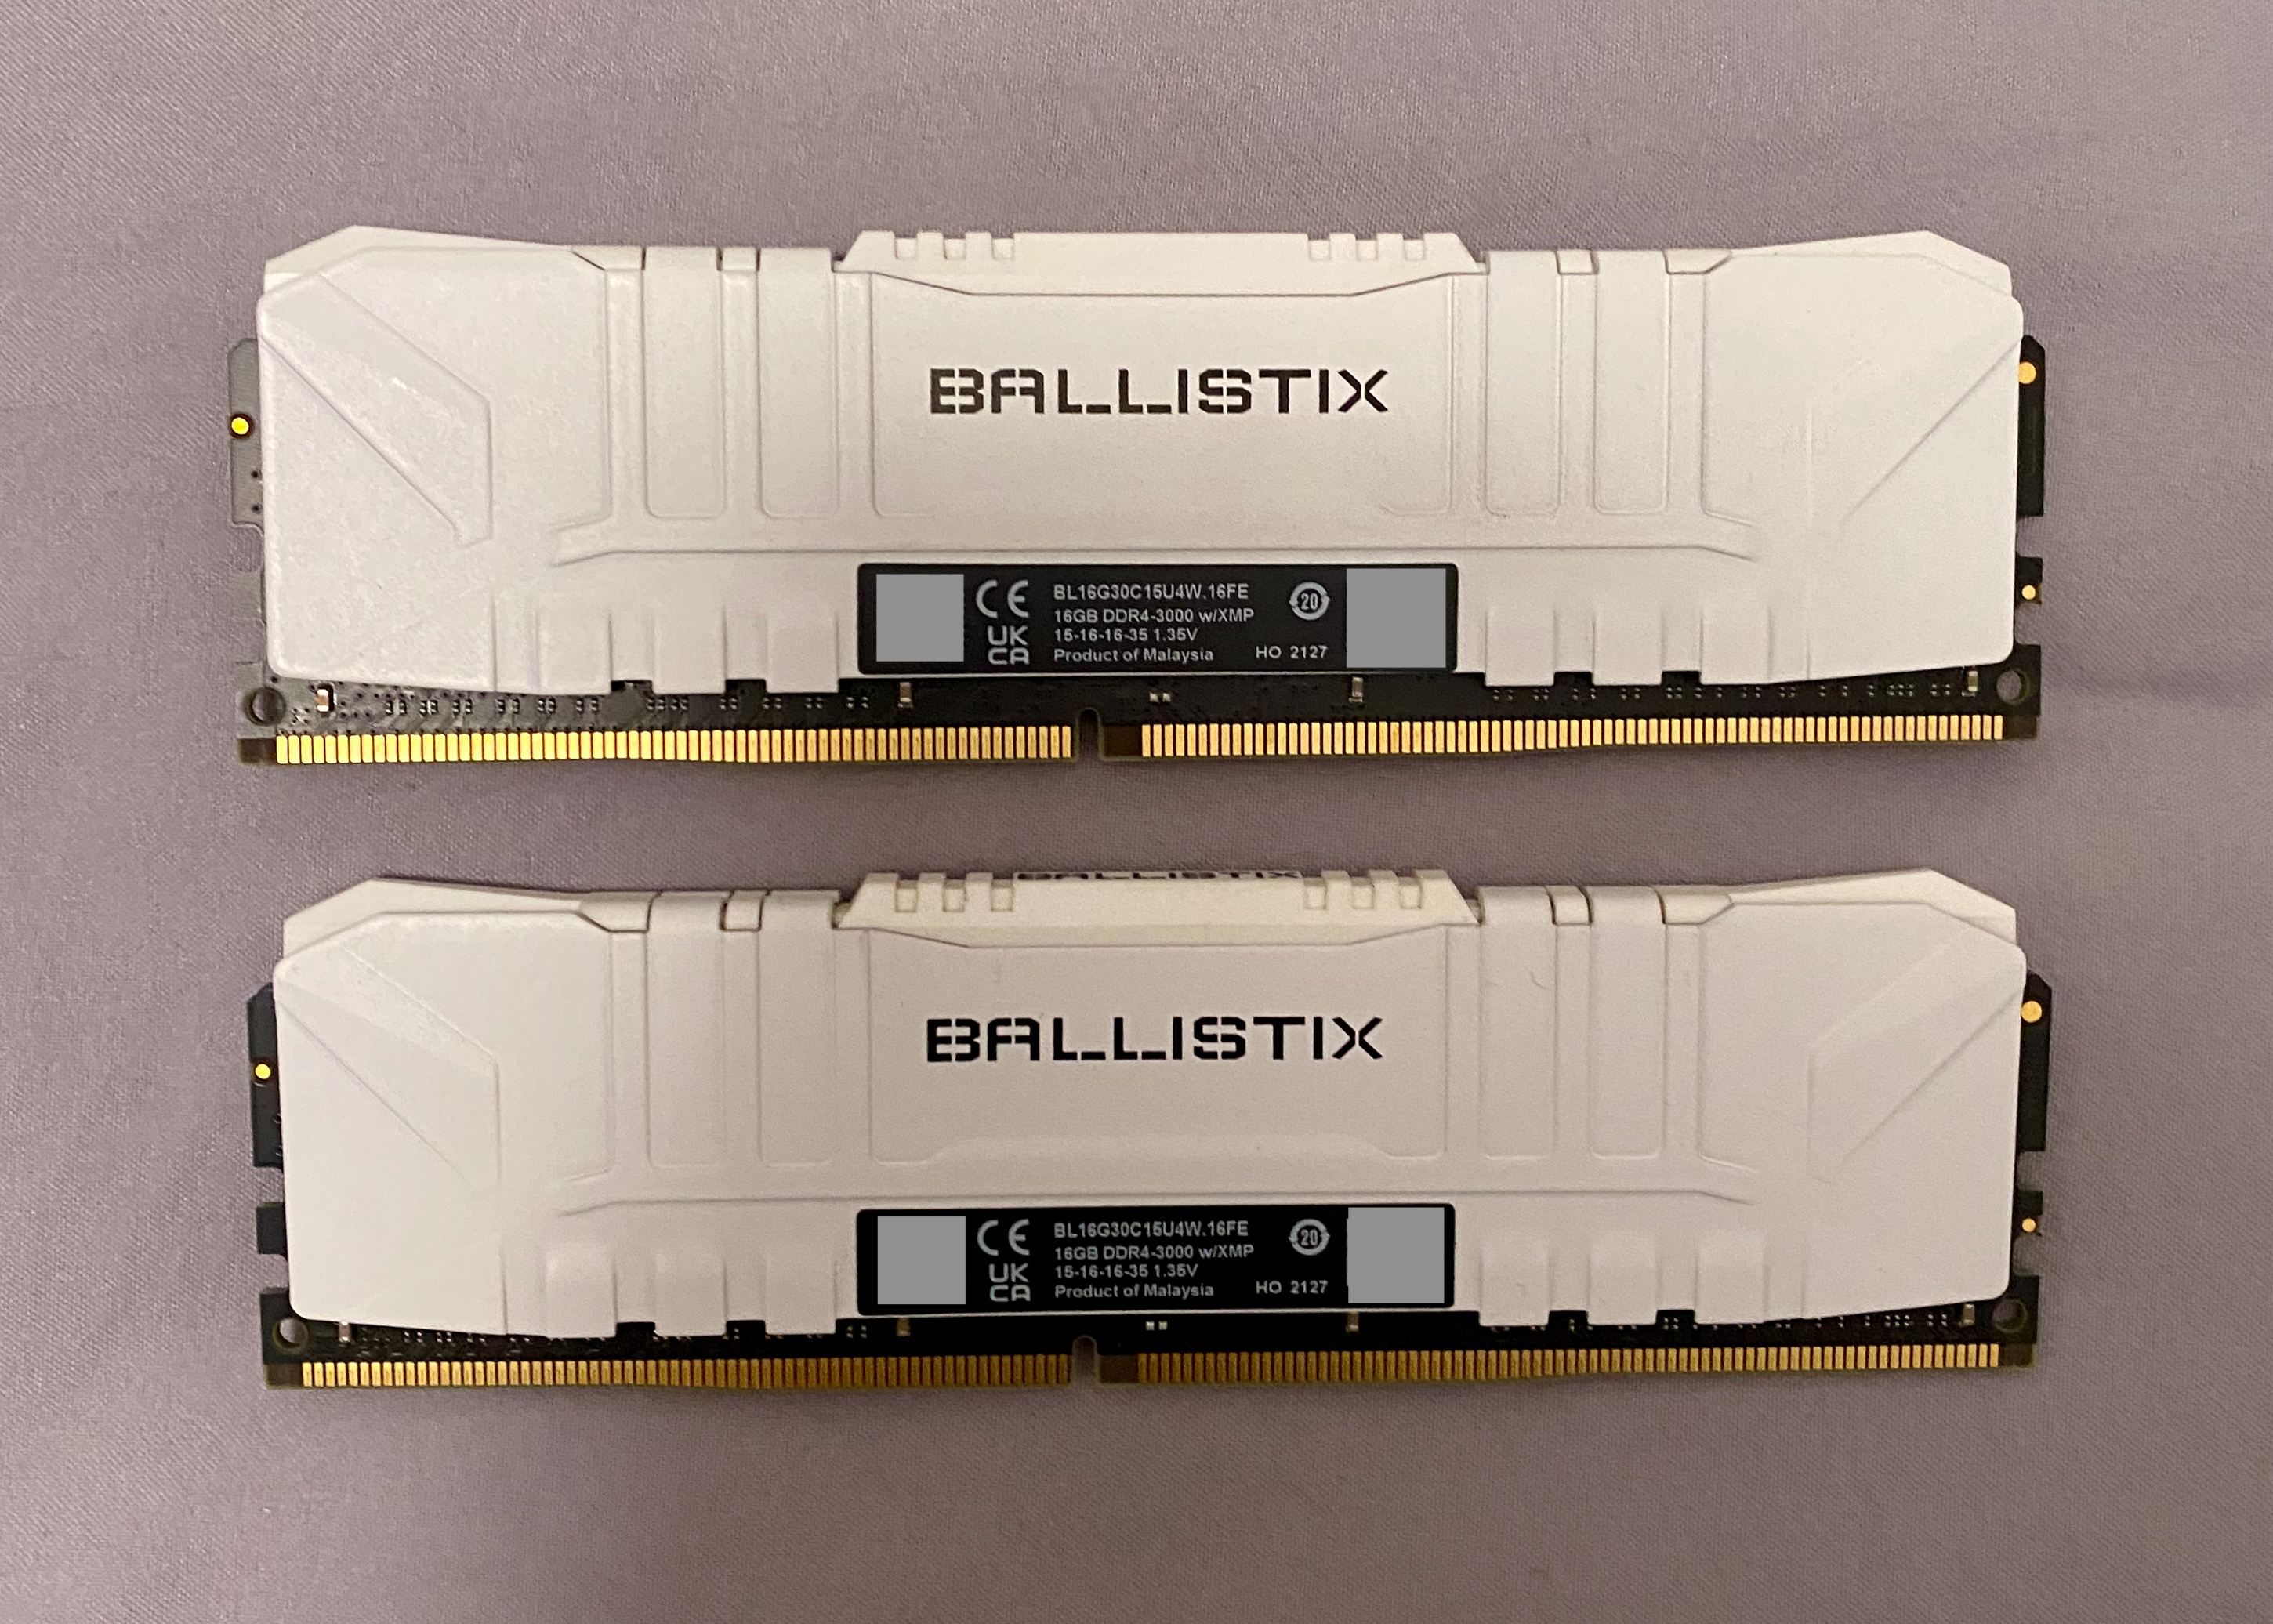
- RAM: 2 × Crucial BALLISTIX 16 GiB DDR4-3000
- Drive:
- NVMe SSD:
- KIOXIA RC20002T00 2000 GB
- KIOXIA RC10500G00 500 GB
- SAMSUNG MZ-VLW2560 256 GB
- Intel MEMPEK1J016GAL 16 GB
- Intel MEMPEK1J016GA 16 GB
- SATA SSD:
- Crucial CT1000MX500SSD1 1000 GB
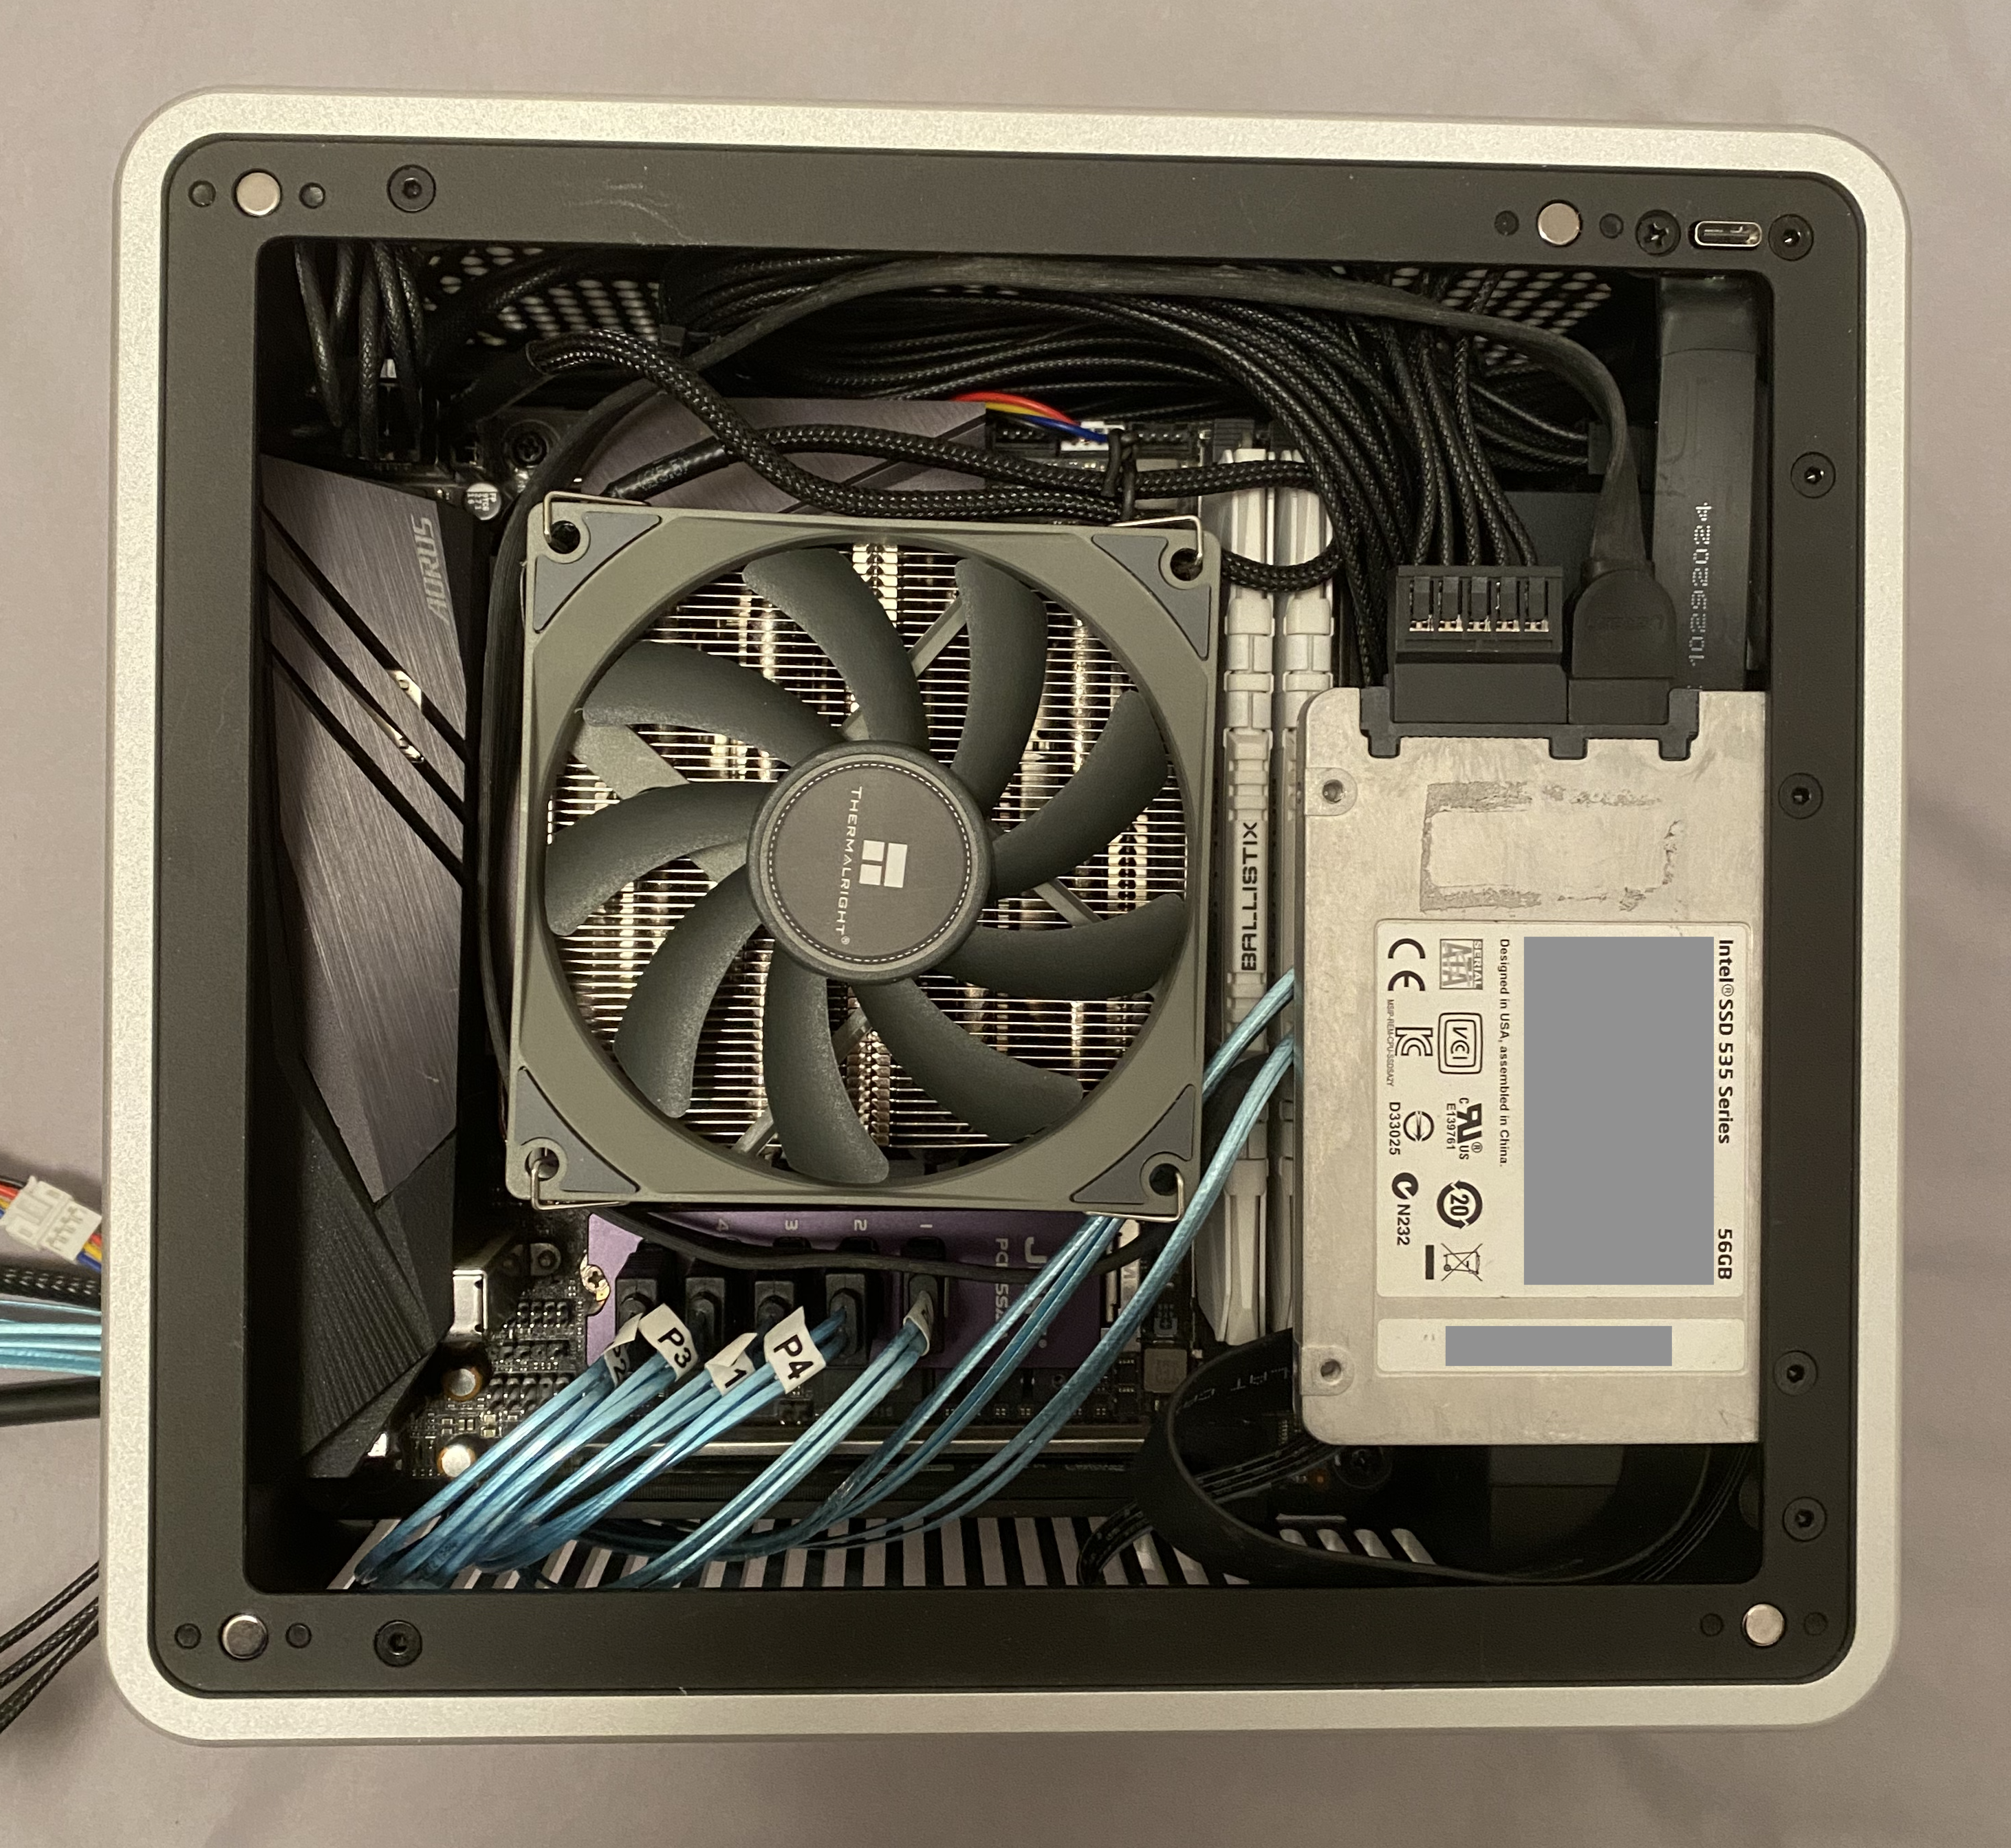
- Intel SSDSC2BW056H6 56 GB
- HDD:
- 2 × WD WUH721414ALE6L4 14000 GB
- WD WUH721414ALE6L0 14000 GB
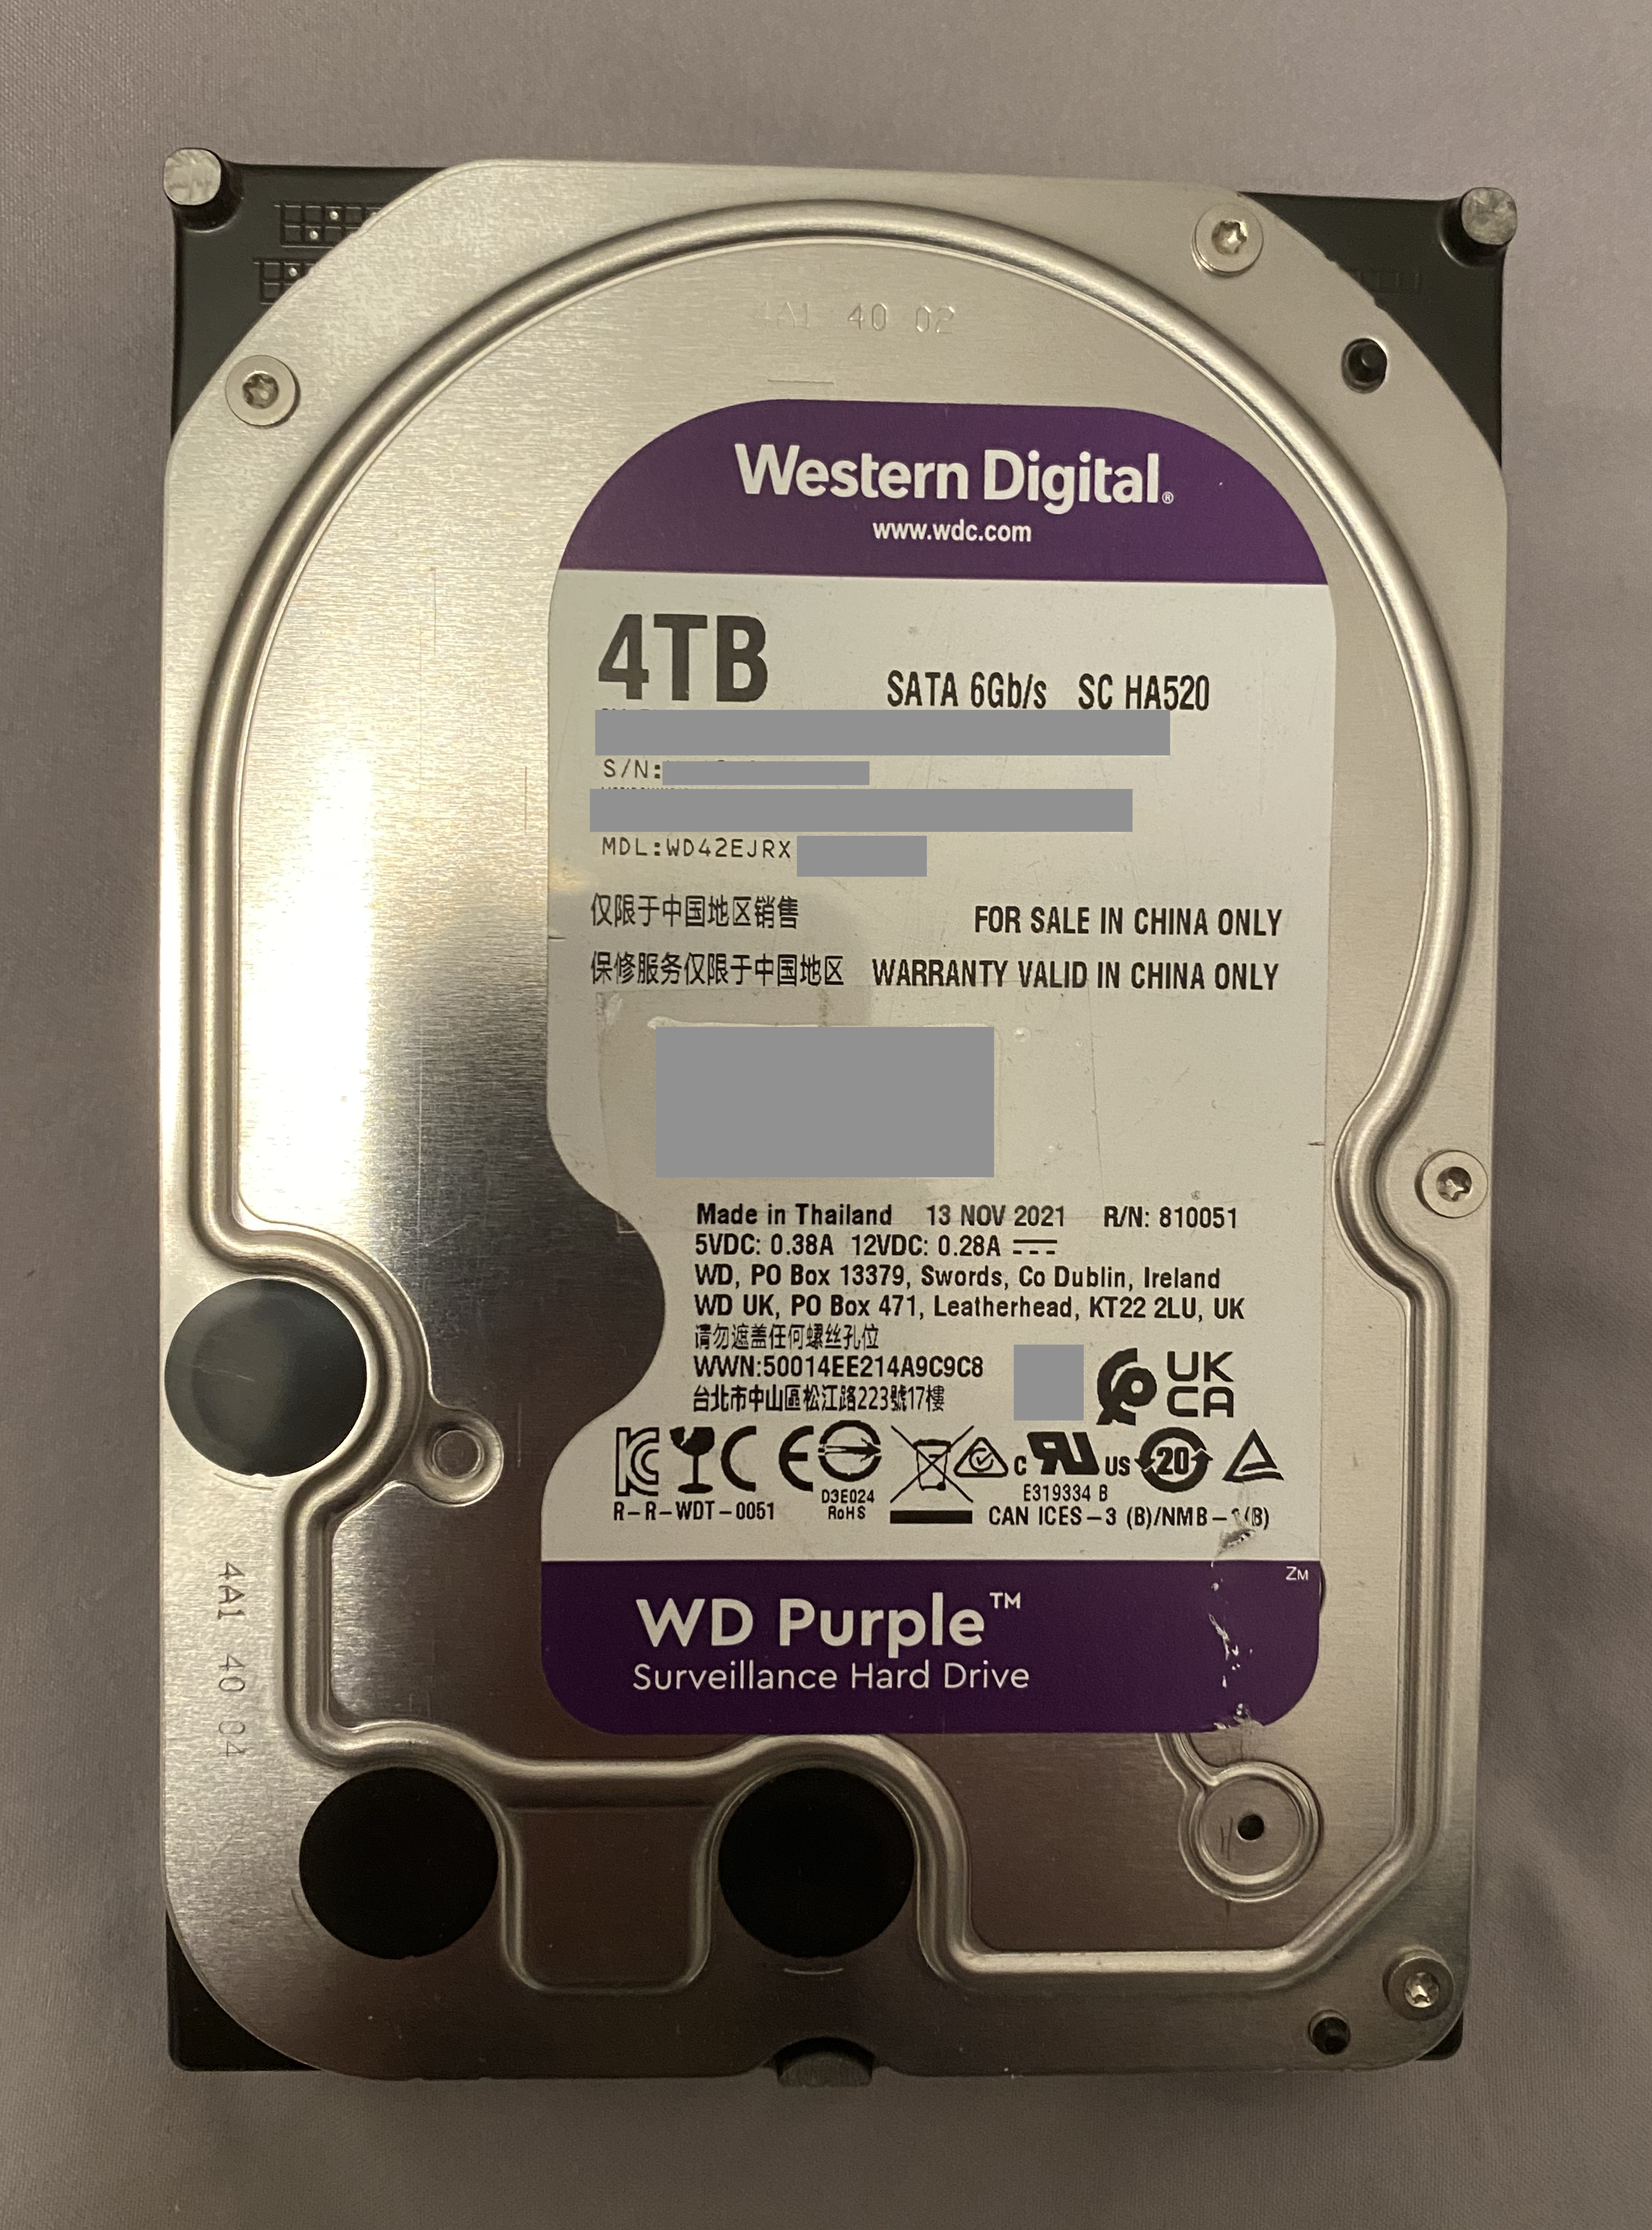
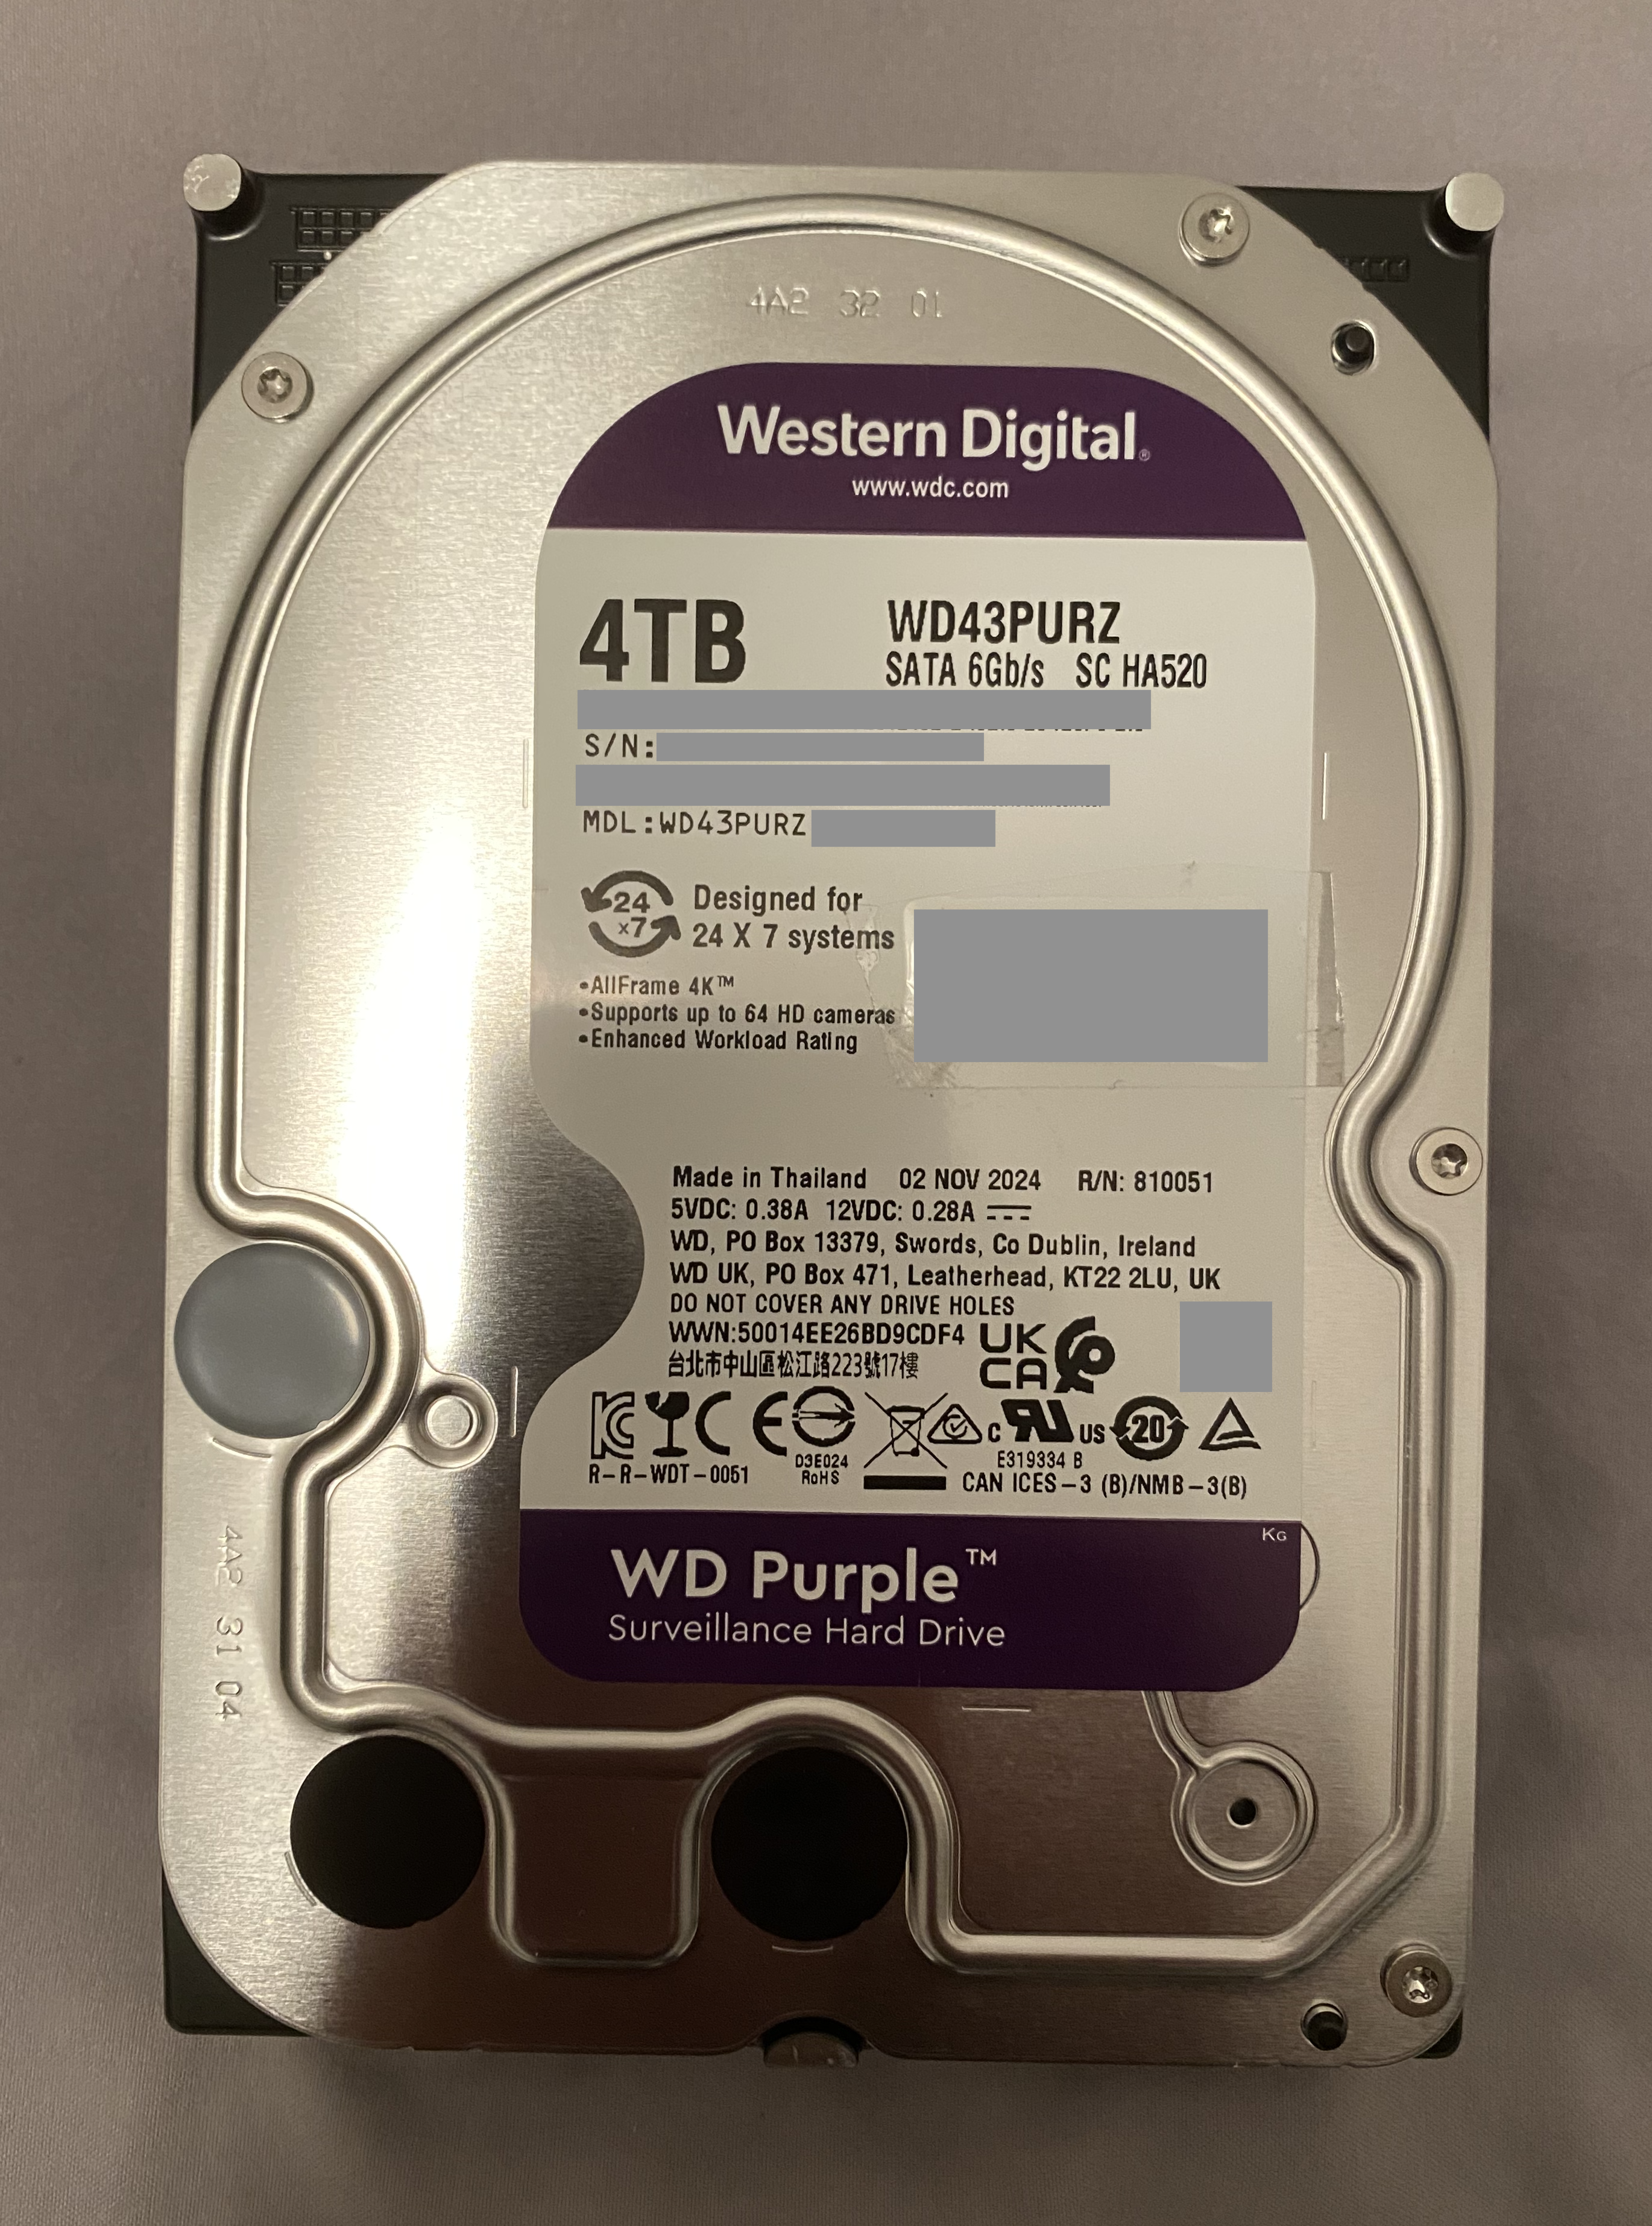
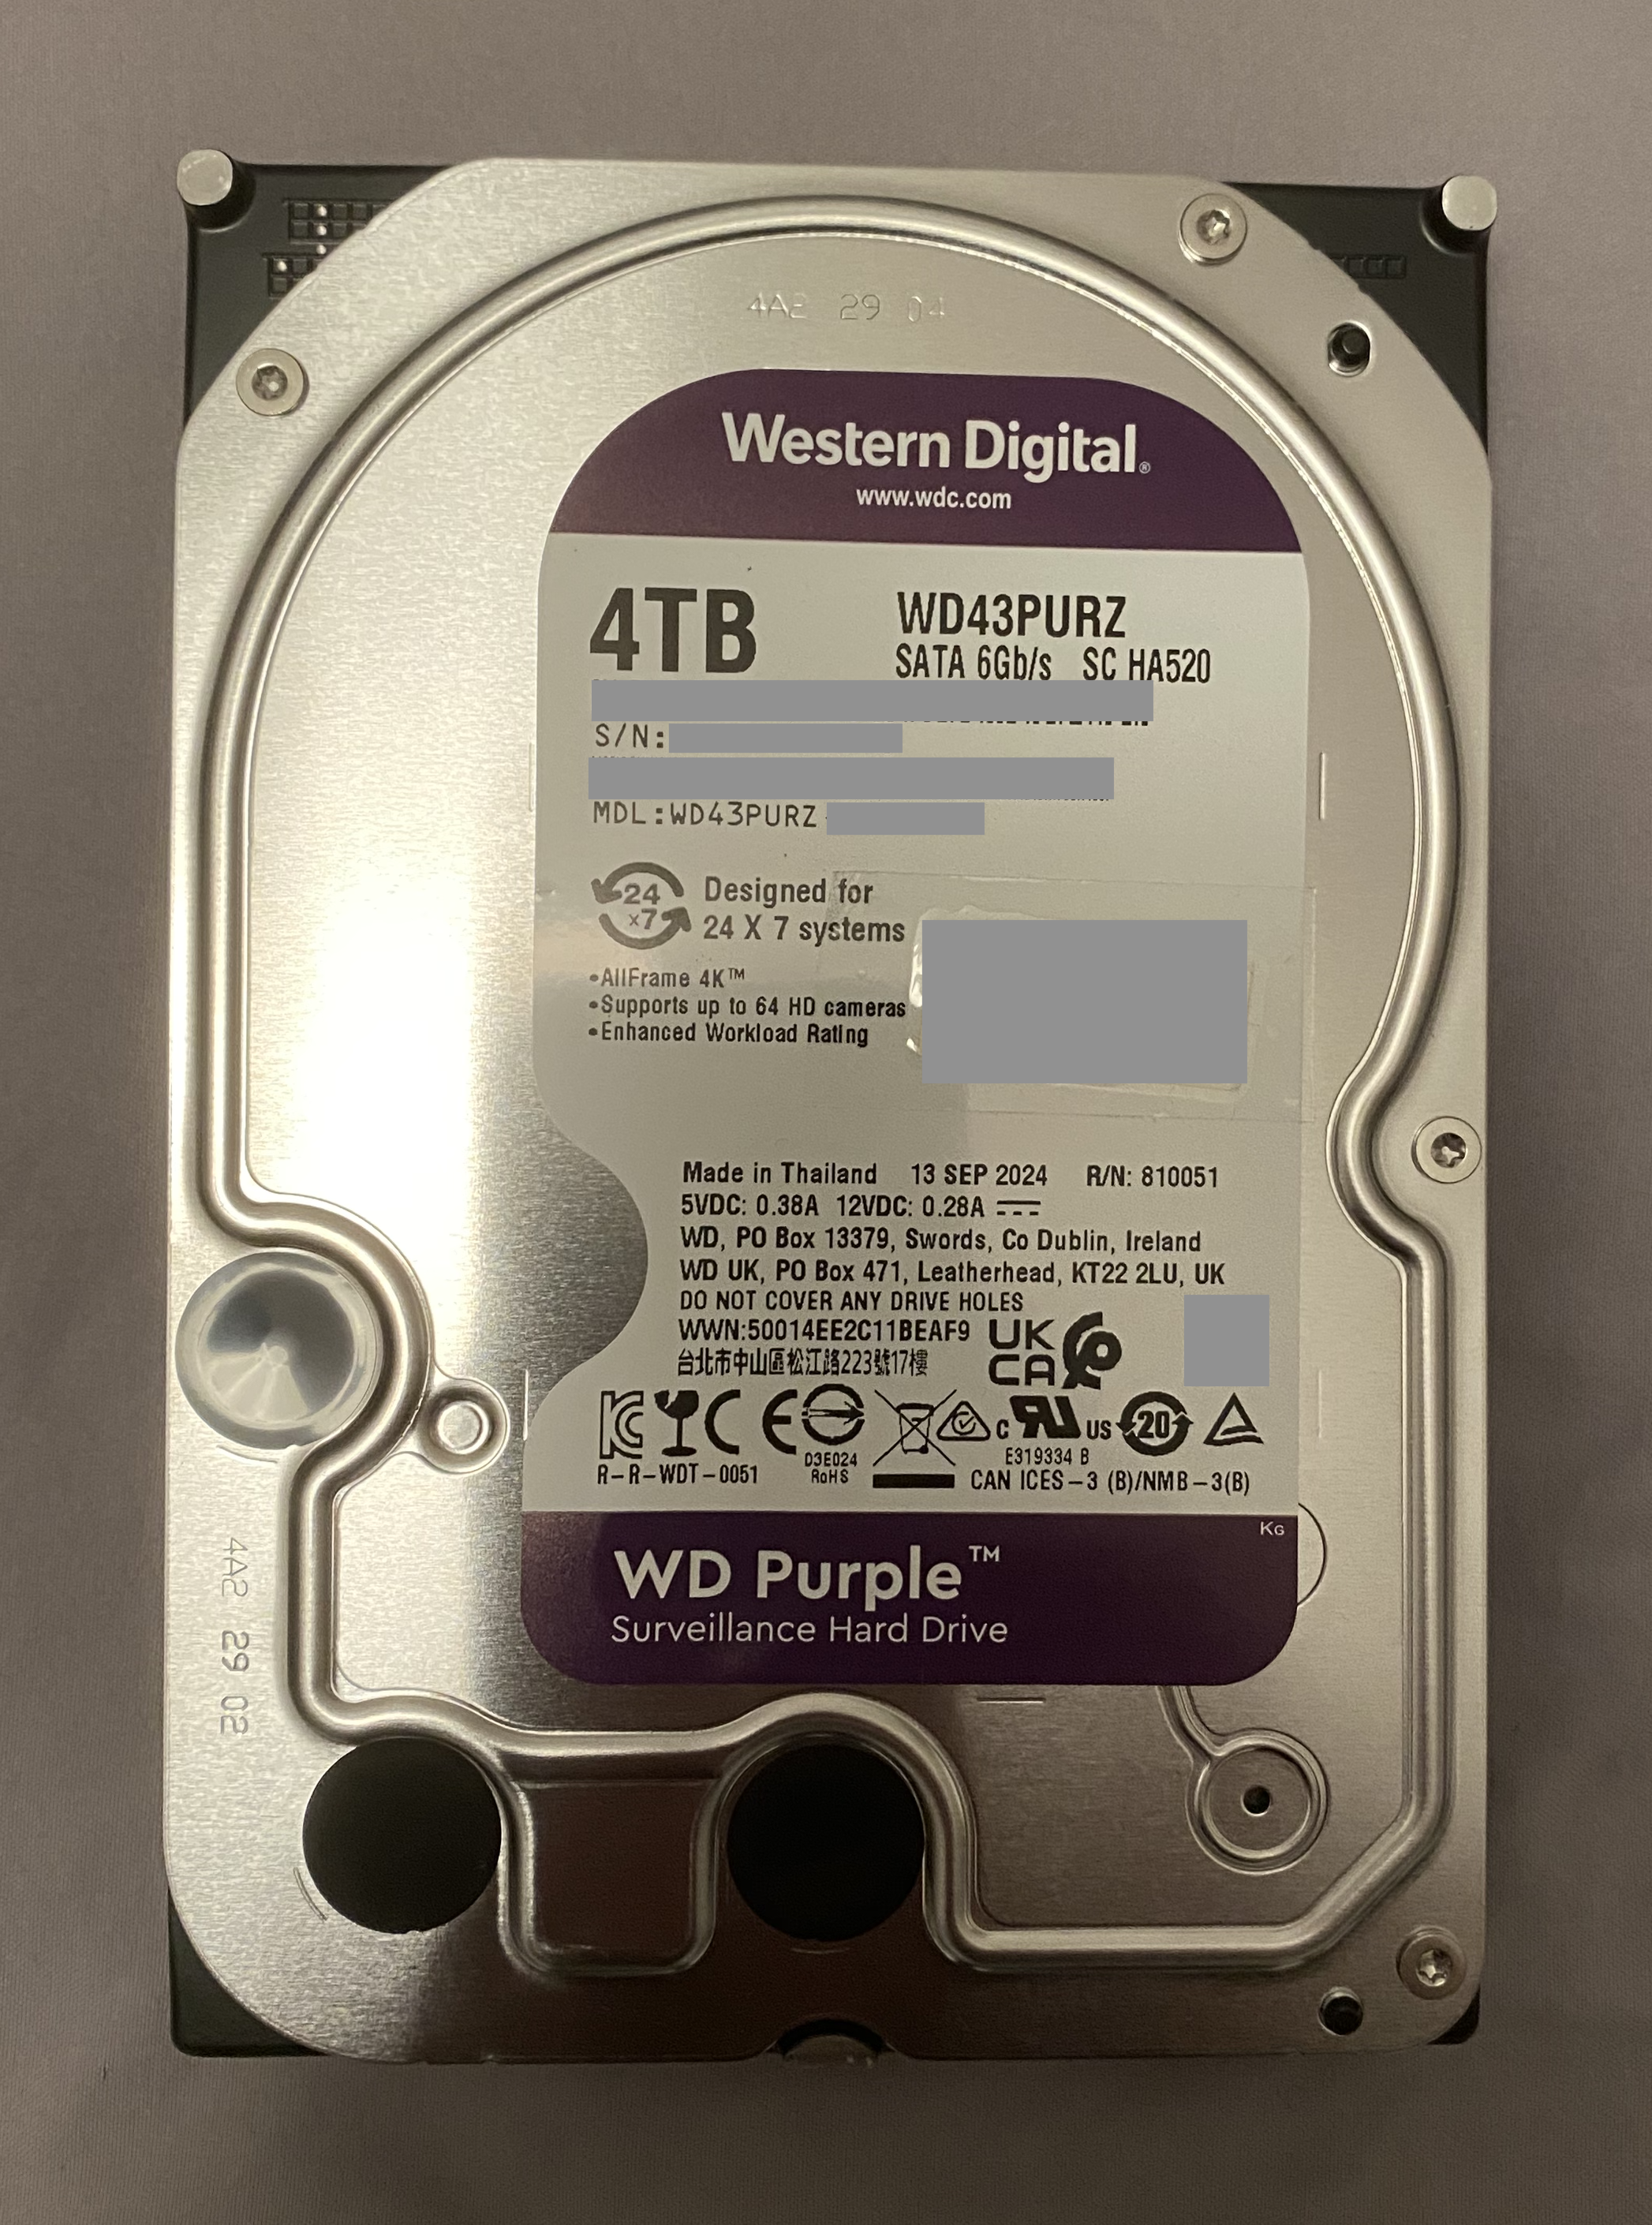
- 2 × WD WD43PURZ 4000 GB
- WD WD42EJRX 4000 GB
- NVMe SSD:
- PSU: Enhance ENP-8345L 450W
- NIC:
- Intel I225-V 2.5GbE
- Realtek RTL8153 1GbE (USB)
- Intel AX201 Wi-Fi 6
- Controller:
- Intel Comet Lake SATA AHCI Controller (4 ports)
- JMicron JMB585 SATA AHCI Controller (5 ports)
- Cooler:
- THERMALRIGHT AXP90-X47 with TL-9015
- THERMALRIGHT TL-D12 PRO-G
- N/A 12015
- Chassis:
- COOJ Sparrow MQ5
- 3D-printed 8-Bay HDD/SSD Enclosure with 8 Dell R730xd Hard Drive Carriers
- OS: FreeBSD 14.2-RELEASE
Platform
As mentioned earlier, I built this machine by reusing hardware from my gaming rig. So, I am currently stuck with the Intel 400 series desktop chipset. Although the i9 is nearly five years old (as of 2025), it remains powerful for a NAS, thanks to its ten high-frequency Skylake cores. This generation also supports PCIe x16 bifurcation to x8+x4+x4 natively, making it suitable for multiple NVMe drives and our JMB585 SATA expansion card.
The following figure illustrates how to achieve nine SATA ports on a mini-ITX motherboard by sacrificing one M.2 port for five additional SATA ports. This isn’t a problem, as we have five useable M.2 ports—two of them from the motherboard and three from PCIe x16 bifurcation. It is unfortunate that we cannot do x4+x4+x4+x4 bifurcation in this generation, so we have to waste four precious PCIe lanes that come from the CPU. 😿
The system has 32 GiB of non-ECC RAM. Although both the CPU and the motherboard lack ECC memory support, I don’t think it’s a big issue since I don’t run this machine 24/7.
Pools
master1
This is a fast but relatively small ZFS RAID-Z1 pool that consists of three NVMe drives, which contribute 512 GB of the total capacity.


| Drive | Power On Hours | Data Read | Data Write |
|---|---|---|---|
| nvme1 | 5,934 | 39.2 TB | 24.2 TB |
| nvme2 | 17,393 | 68.9 TB | 38.7 TB |
| nvme0 | 4,357 | 75.1 TB | 32.9 TB |
master2
The pool master2 is built with all brand-new hard drives and currently has three 4 TB WD Purple drives configured in ZFS RAID-Z1 fashion. It has a total usable capacity of 8 TB.
| Drive | Power On Hours | Data Read | Data Write |
|---|---|---|---|
| ada6 | 614 | N/A | N/A |
| ada2 | 10,587 | N/A | N/A |
| ada0 | 614 | N/A | N/A |
slave1
This pool is built using used drives to keep costs low and serves as a redundant storage location for my second copy of data. It also uses a ZFS RAID-Z1 configuration, currently offering 28 TB of usable capacity.
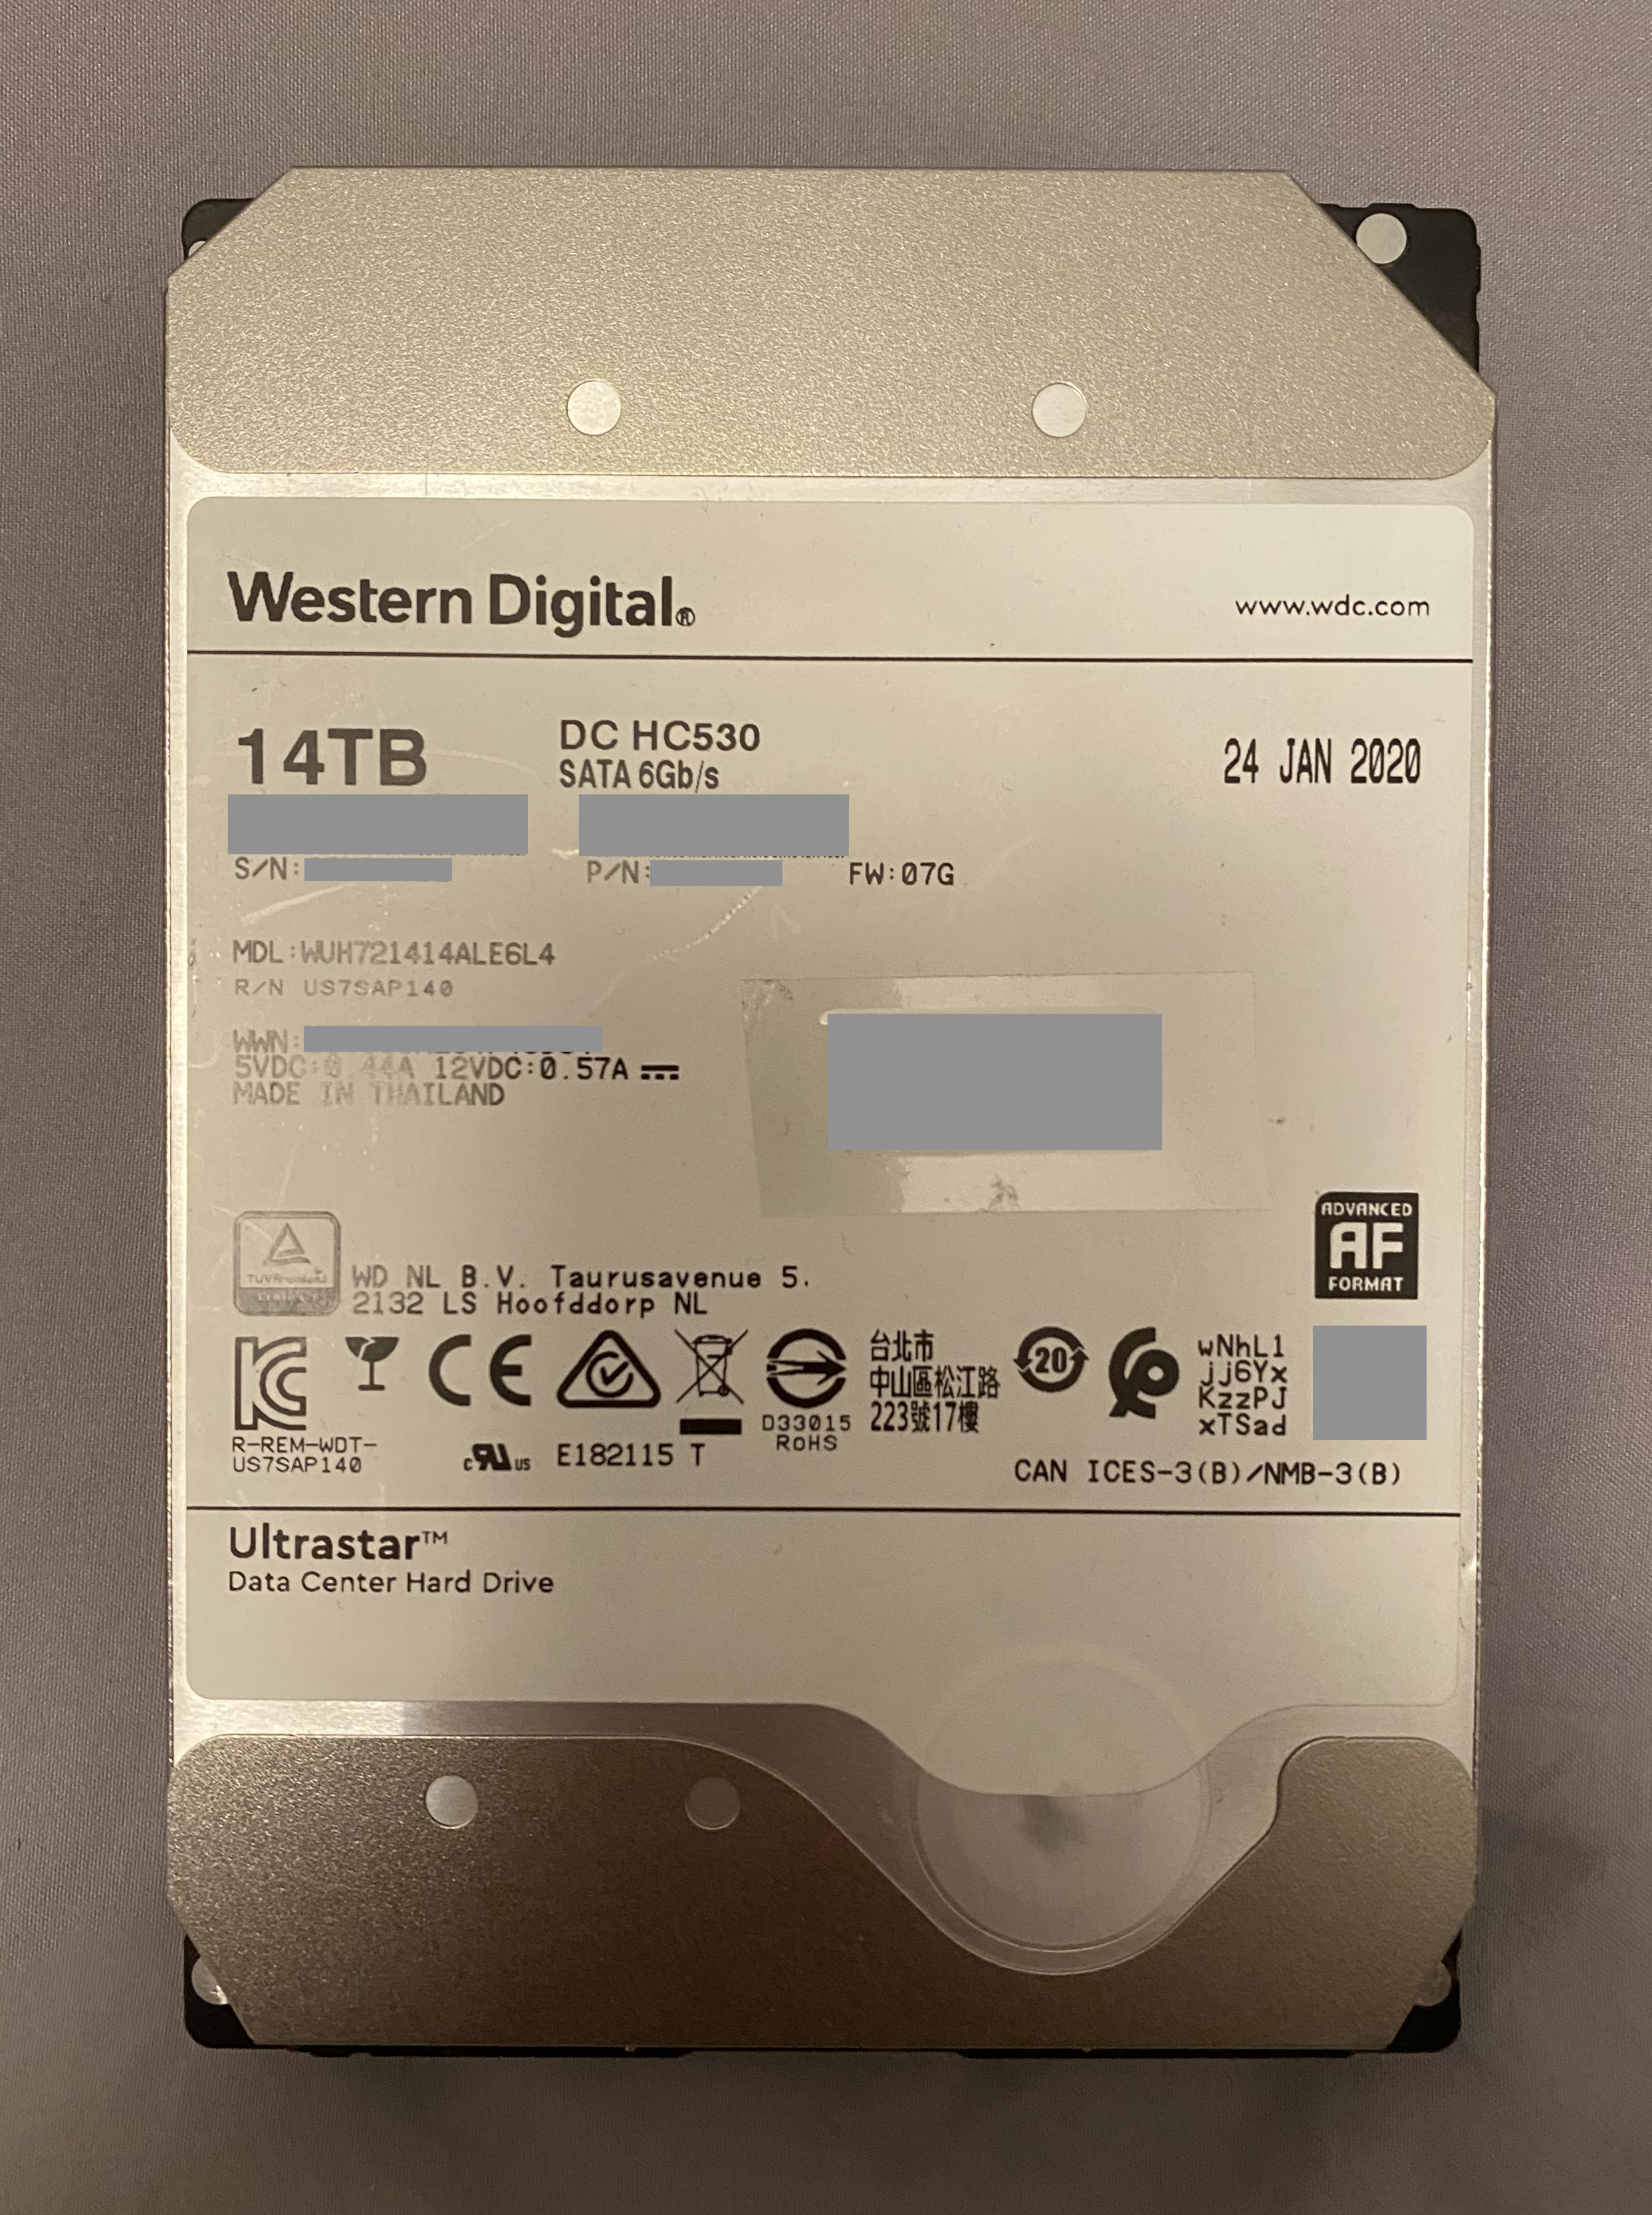
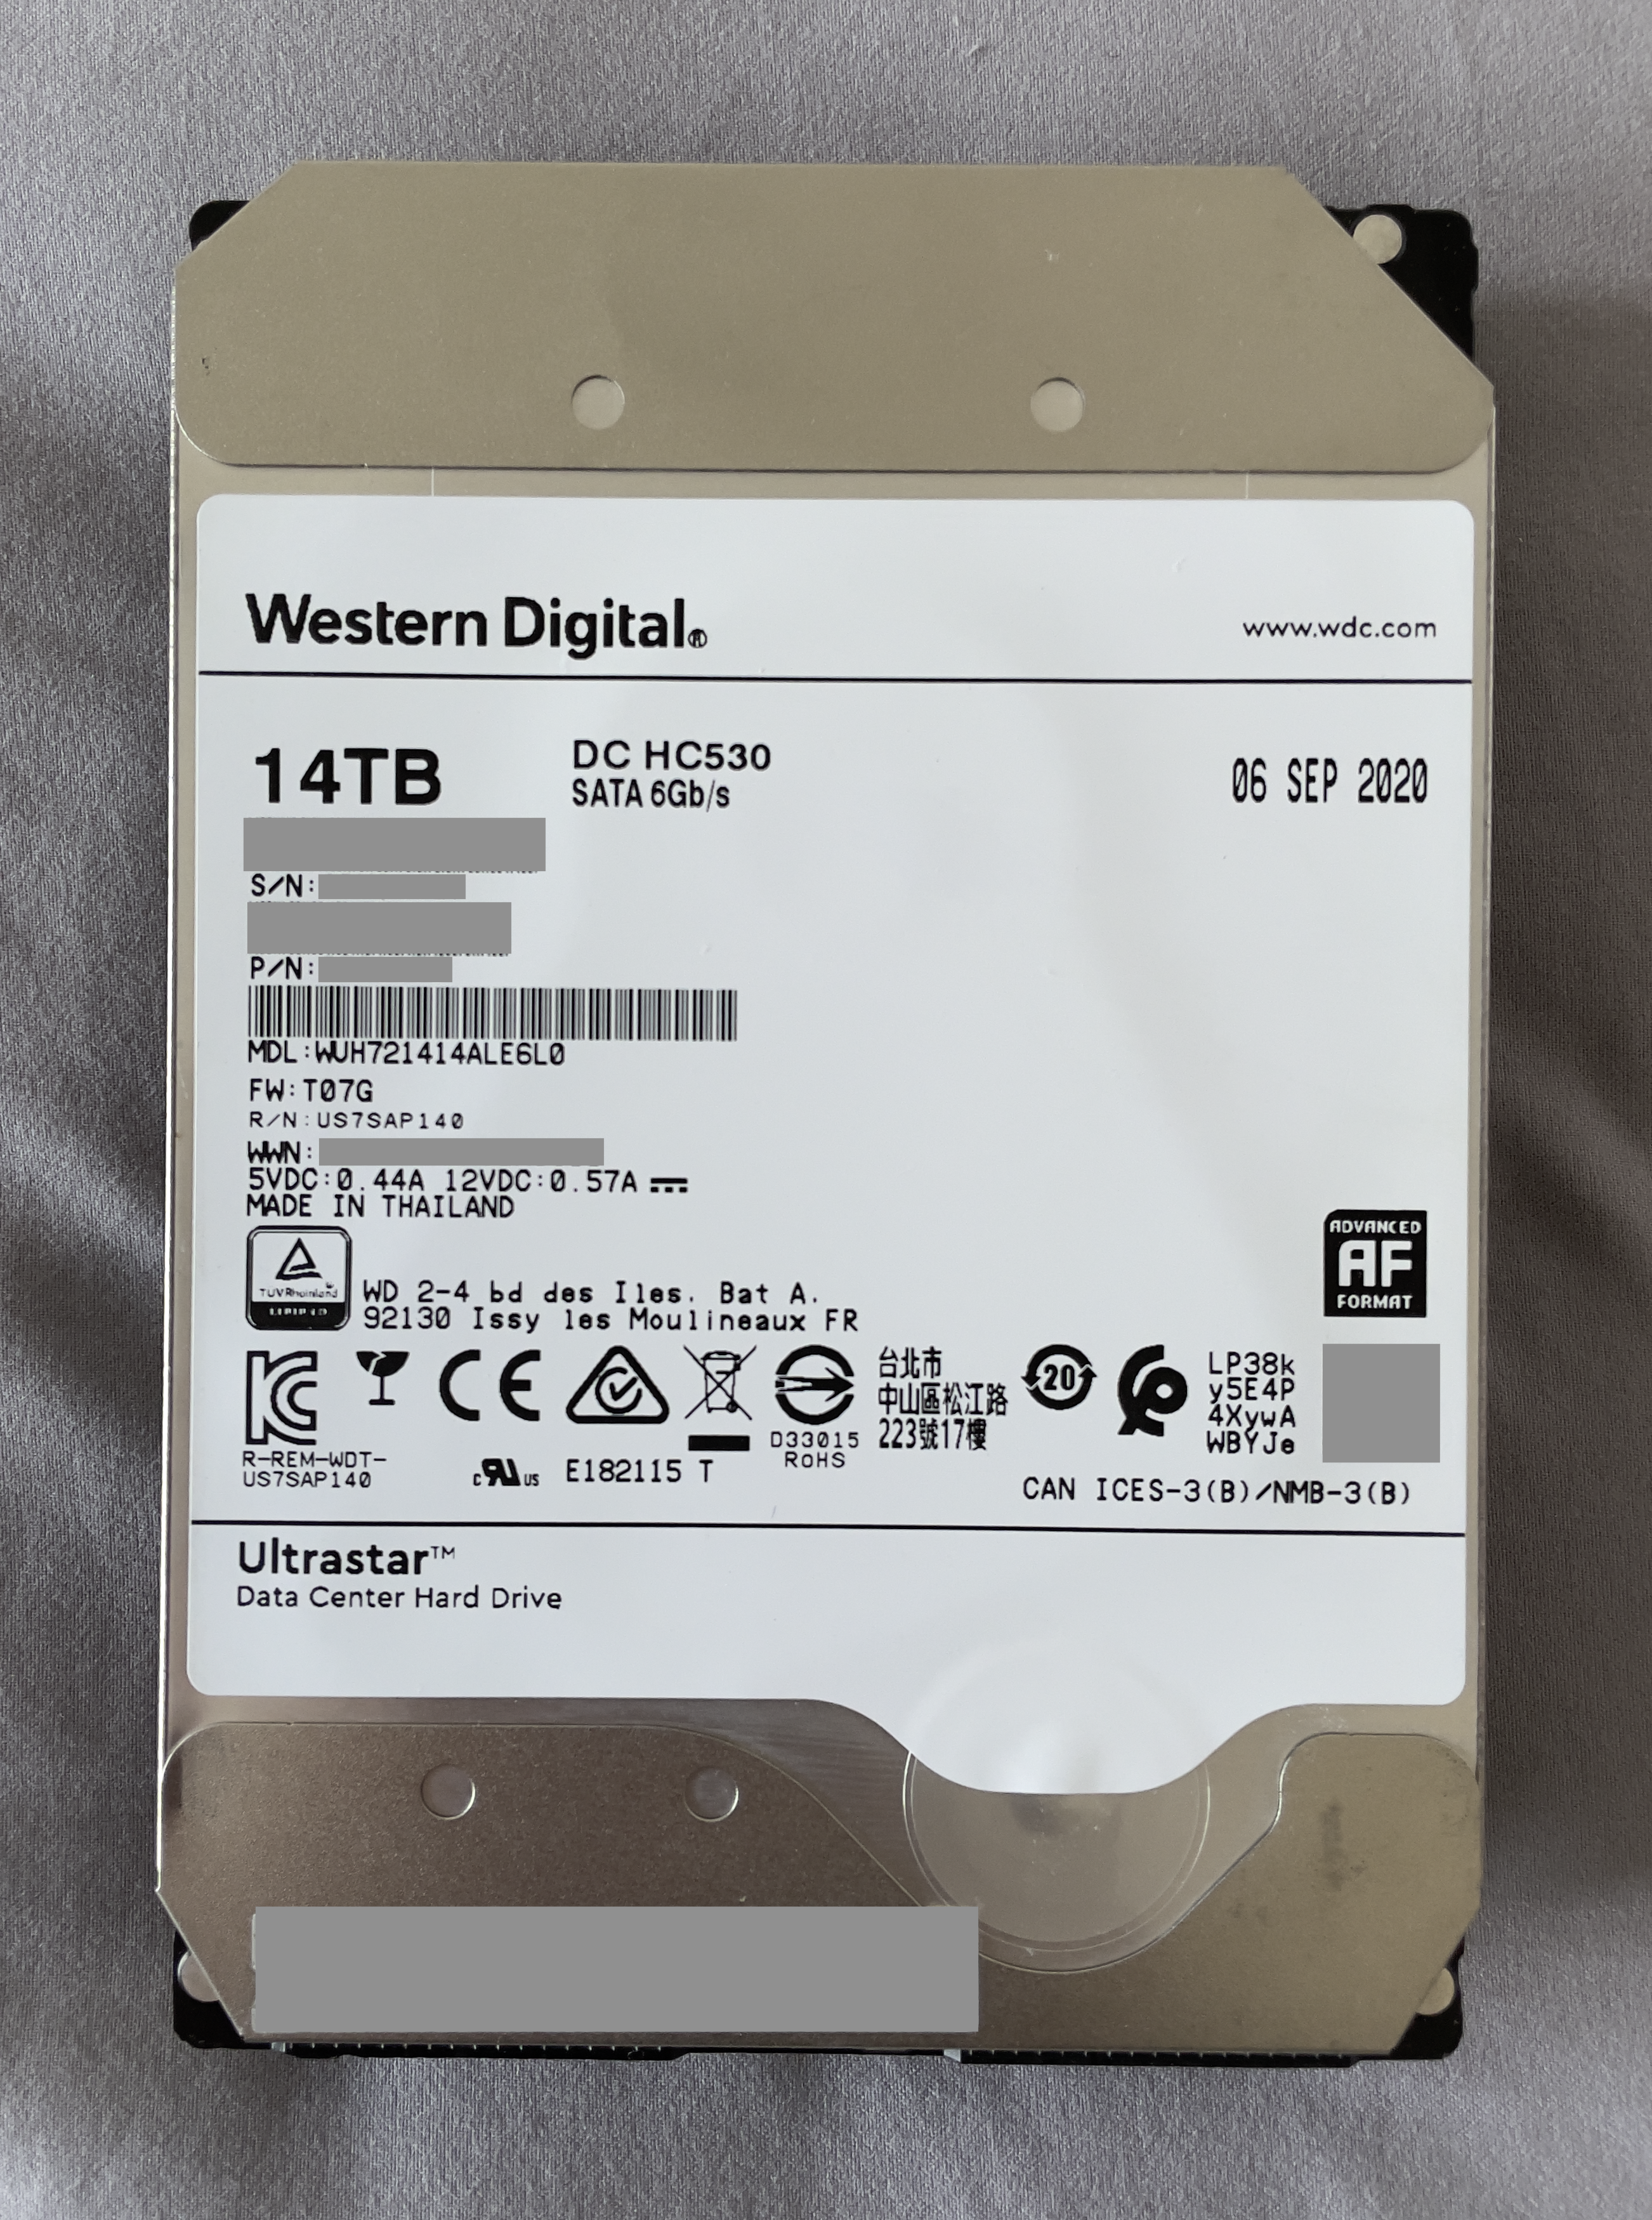
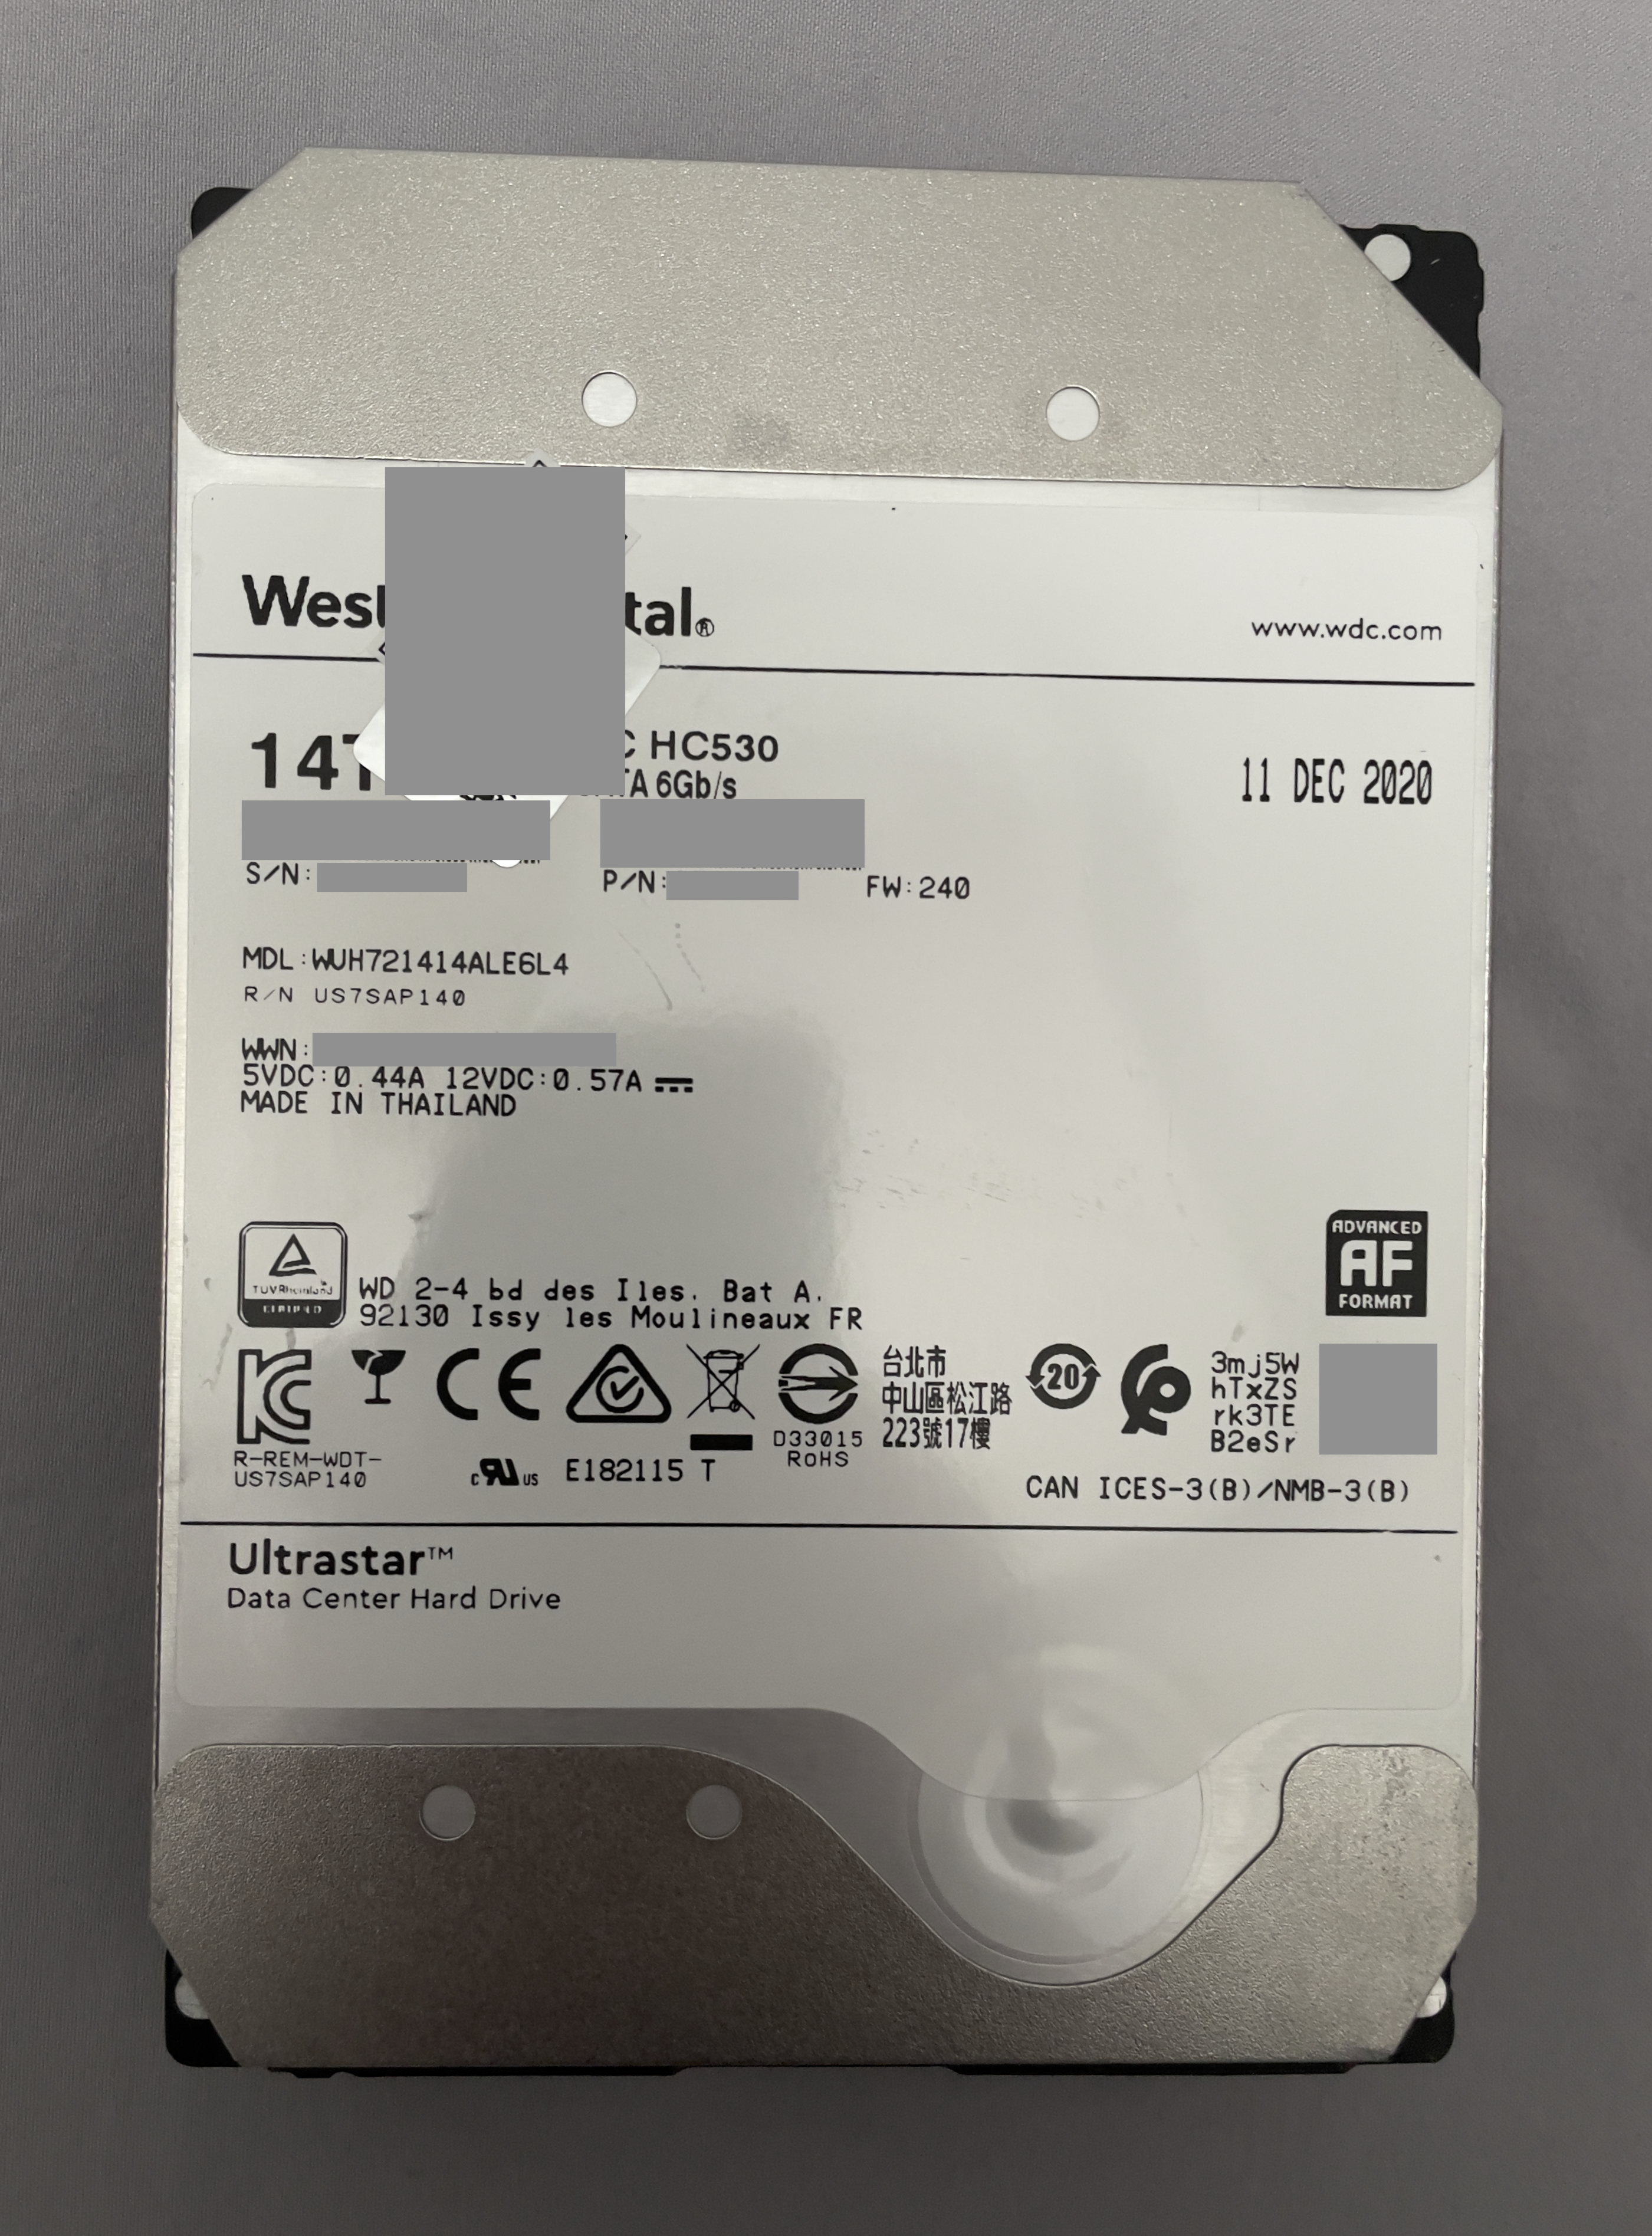
| Drive | Power On Hours | Data Read | Data Write |
|---|---|---|---|
| ada7 | 24,906 | 76.43 TB | 66.19 TB |
| ada5 | 29,236 | N/A | N/A |
| ada3 | 23,115 | N/A | N/A |
slave2 & 3
Since I have several spare ports, why not build pools for the retired drives? They're still functional but retired due to their small capacity. I'll configure them into two ZFS stripe pools, which will provide us with 1 TB and 16 GB of usable storage space, respectively.
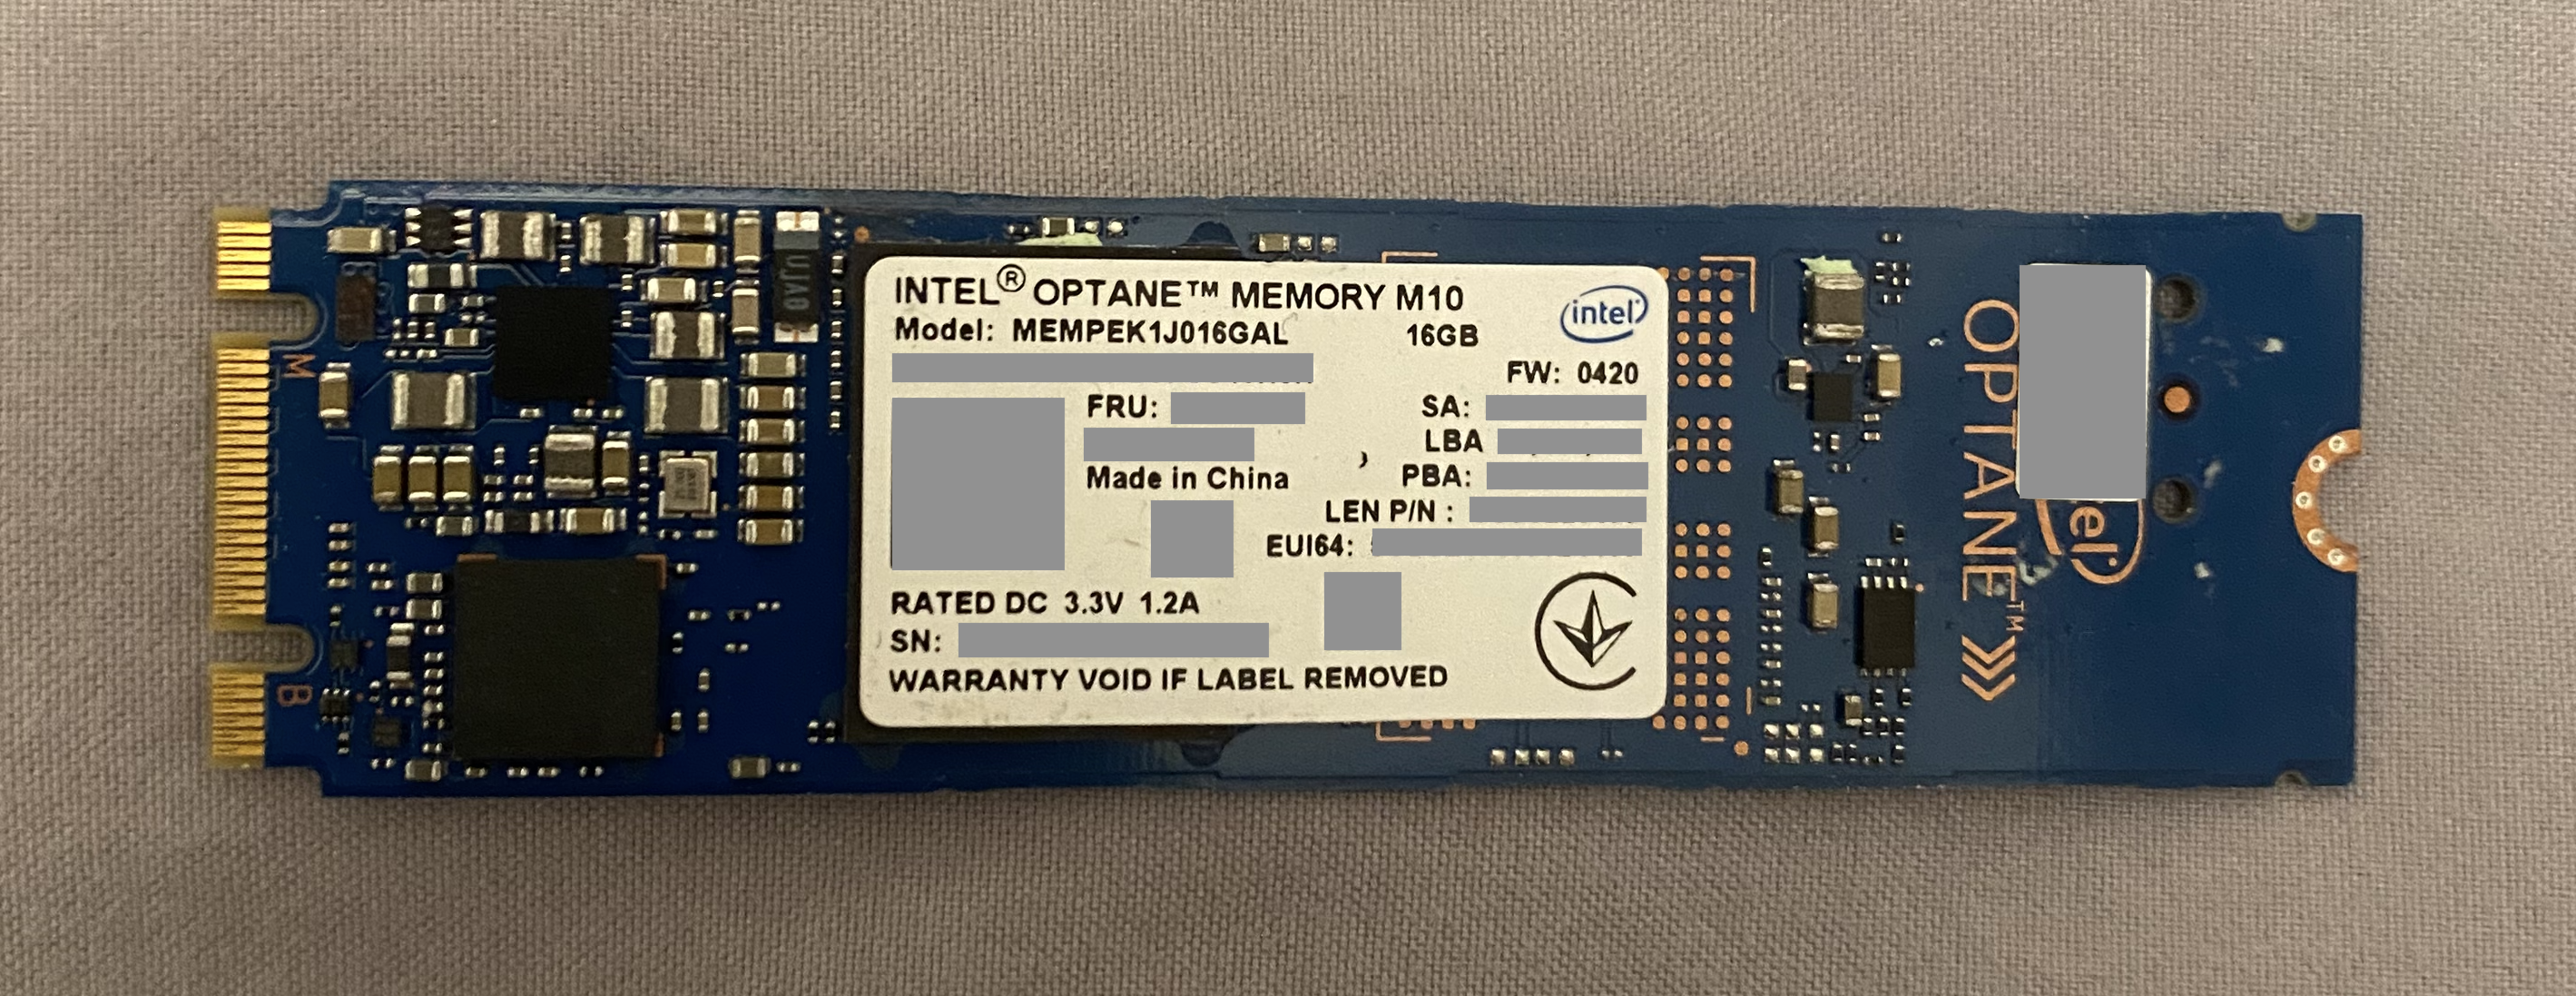
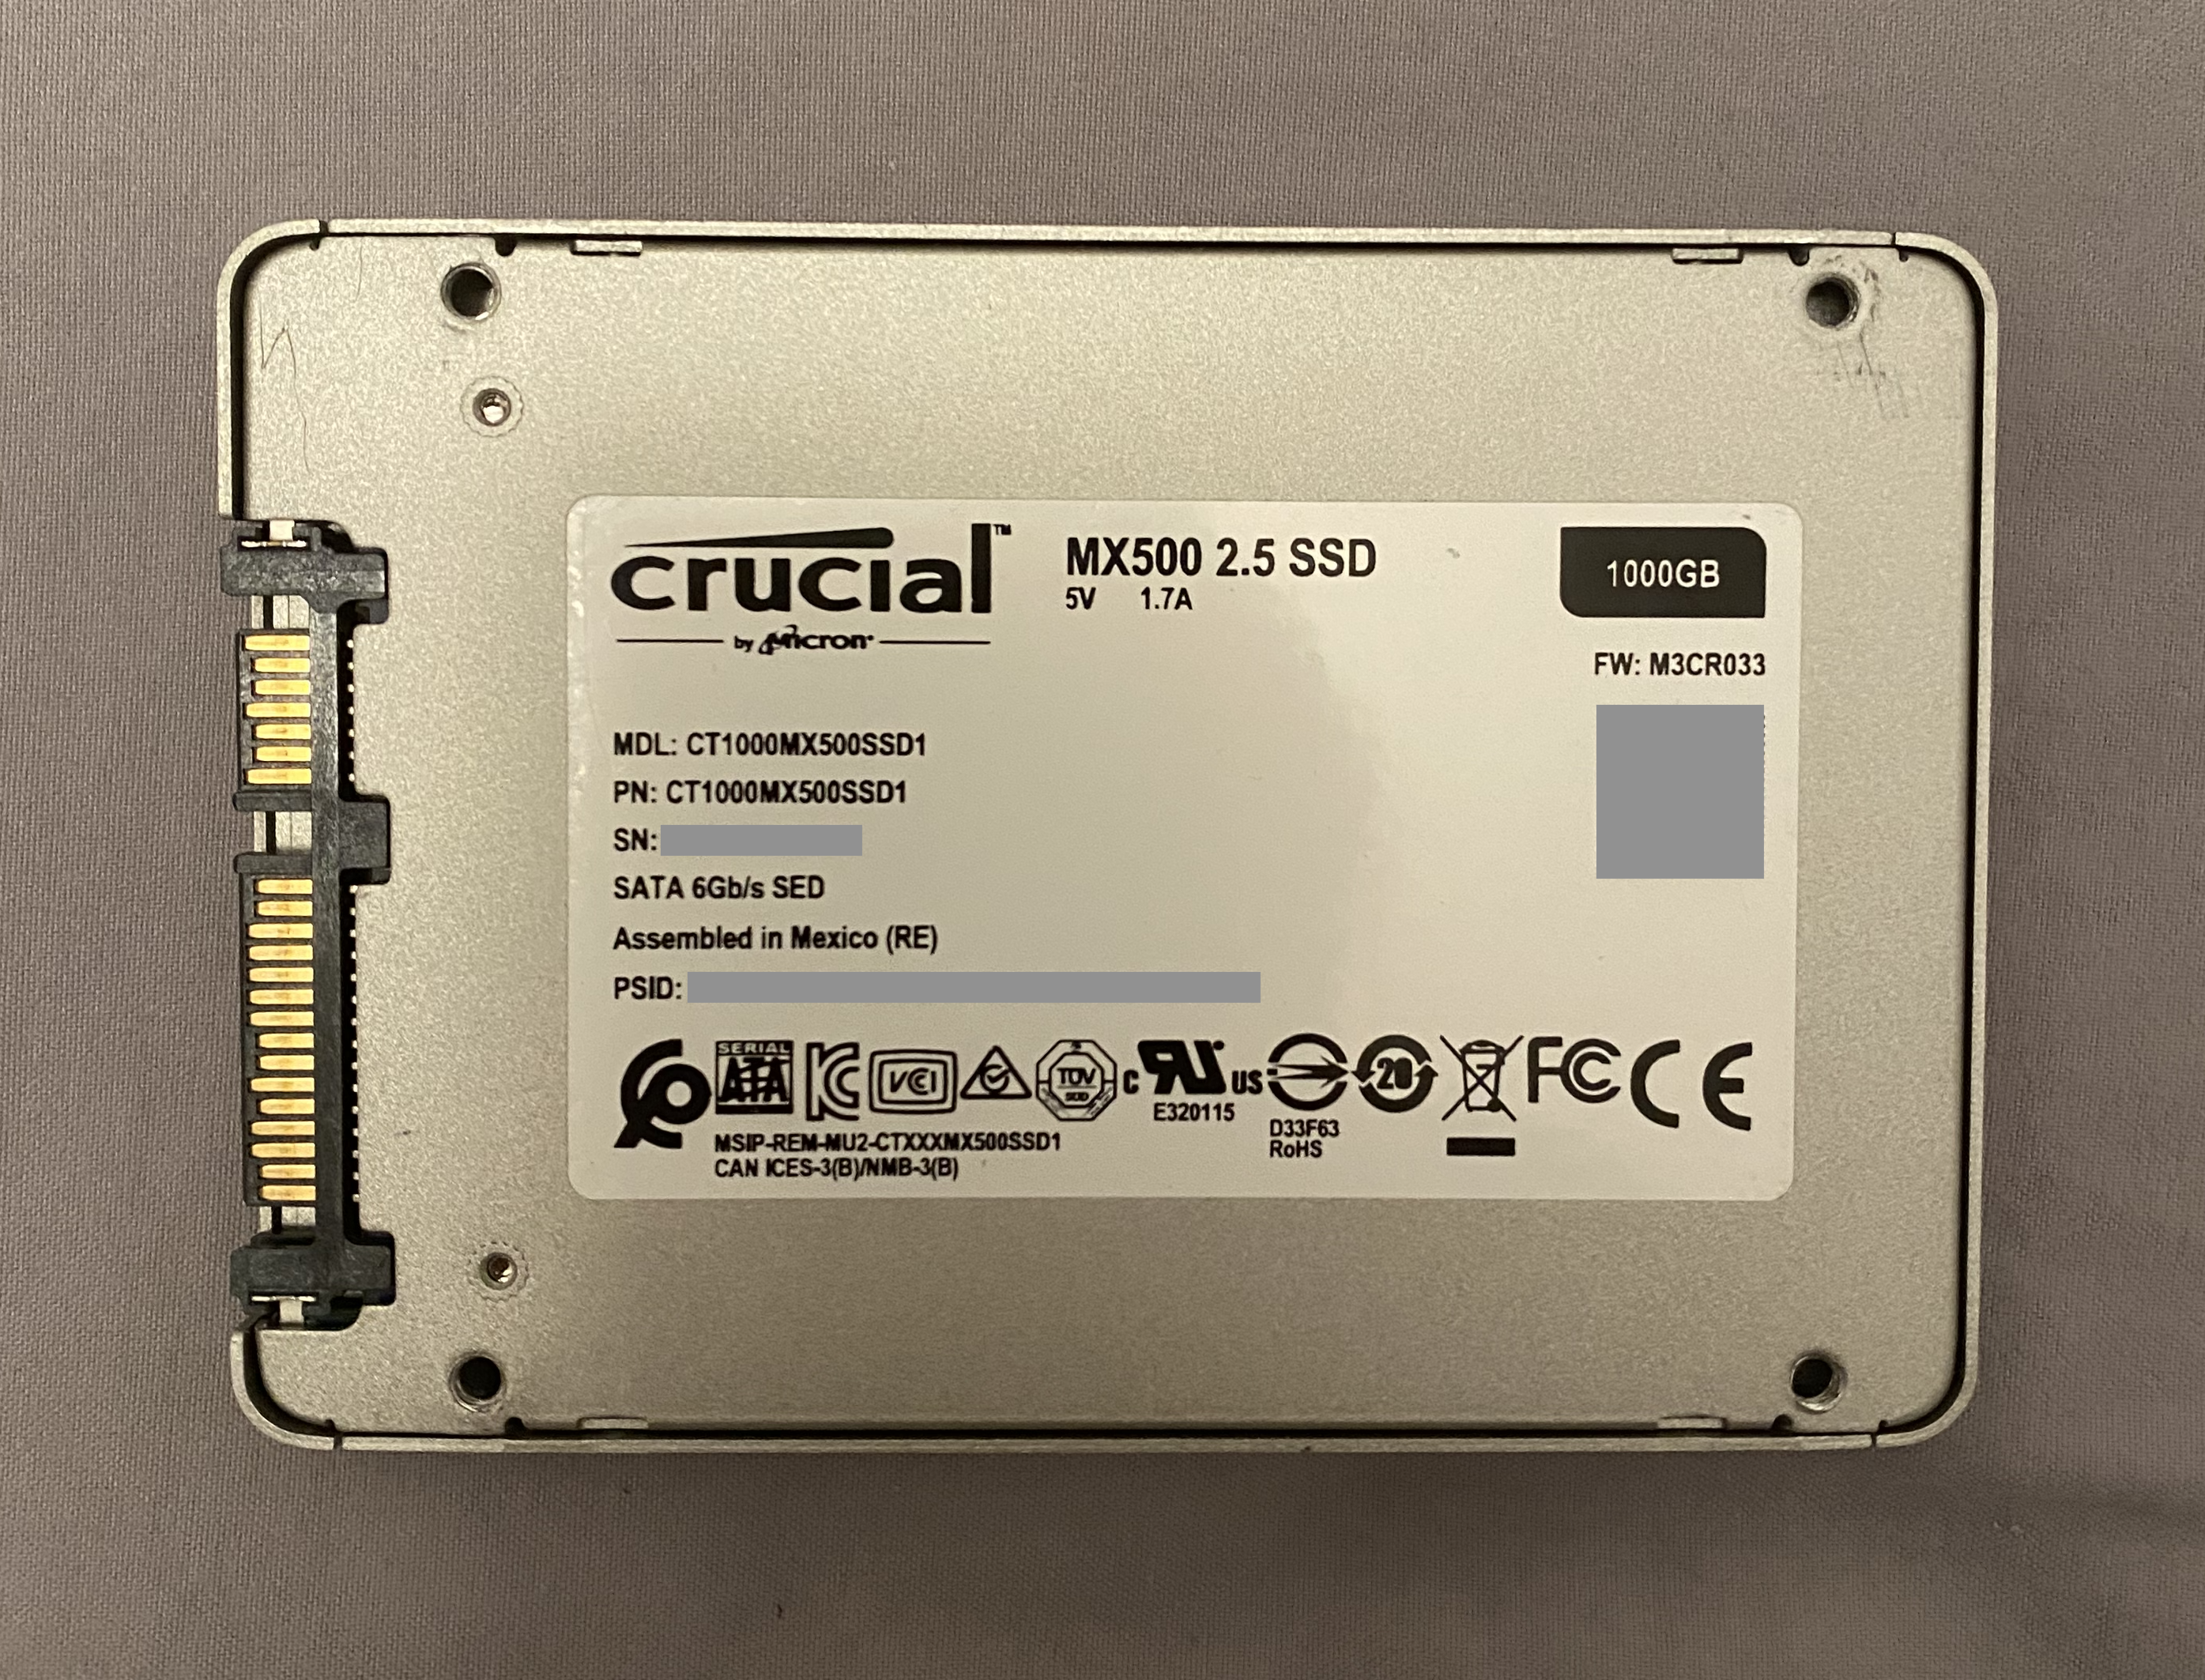
| Drive | Power On Hours | Data Read | Data Write |
|---|---|---|---|
| nvme3 | 5,984 | 5.89 TB | 4.40 TB |
| ada4 | 6,105 | N/A | 49.81 TB |
zroot
This pool is where the OS resides. It is a two-way ZFS mirror that provides us with 16 GB of storage space.
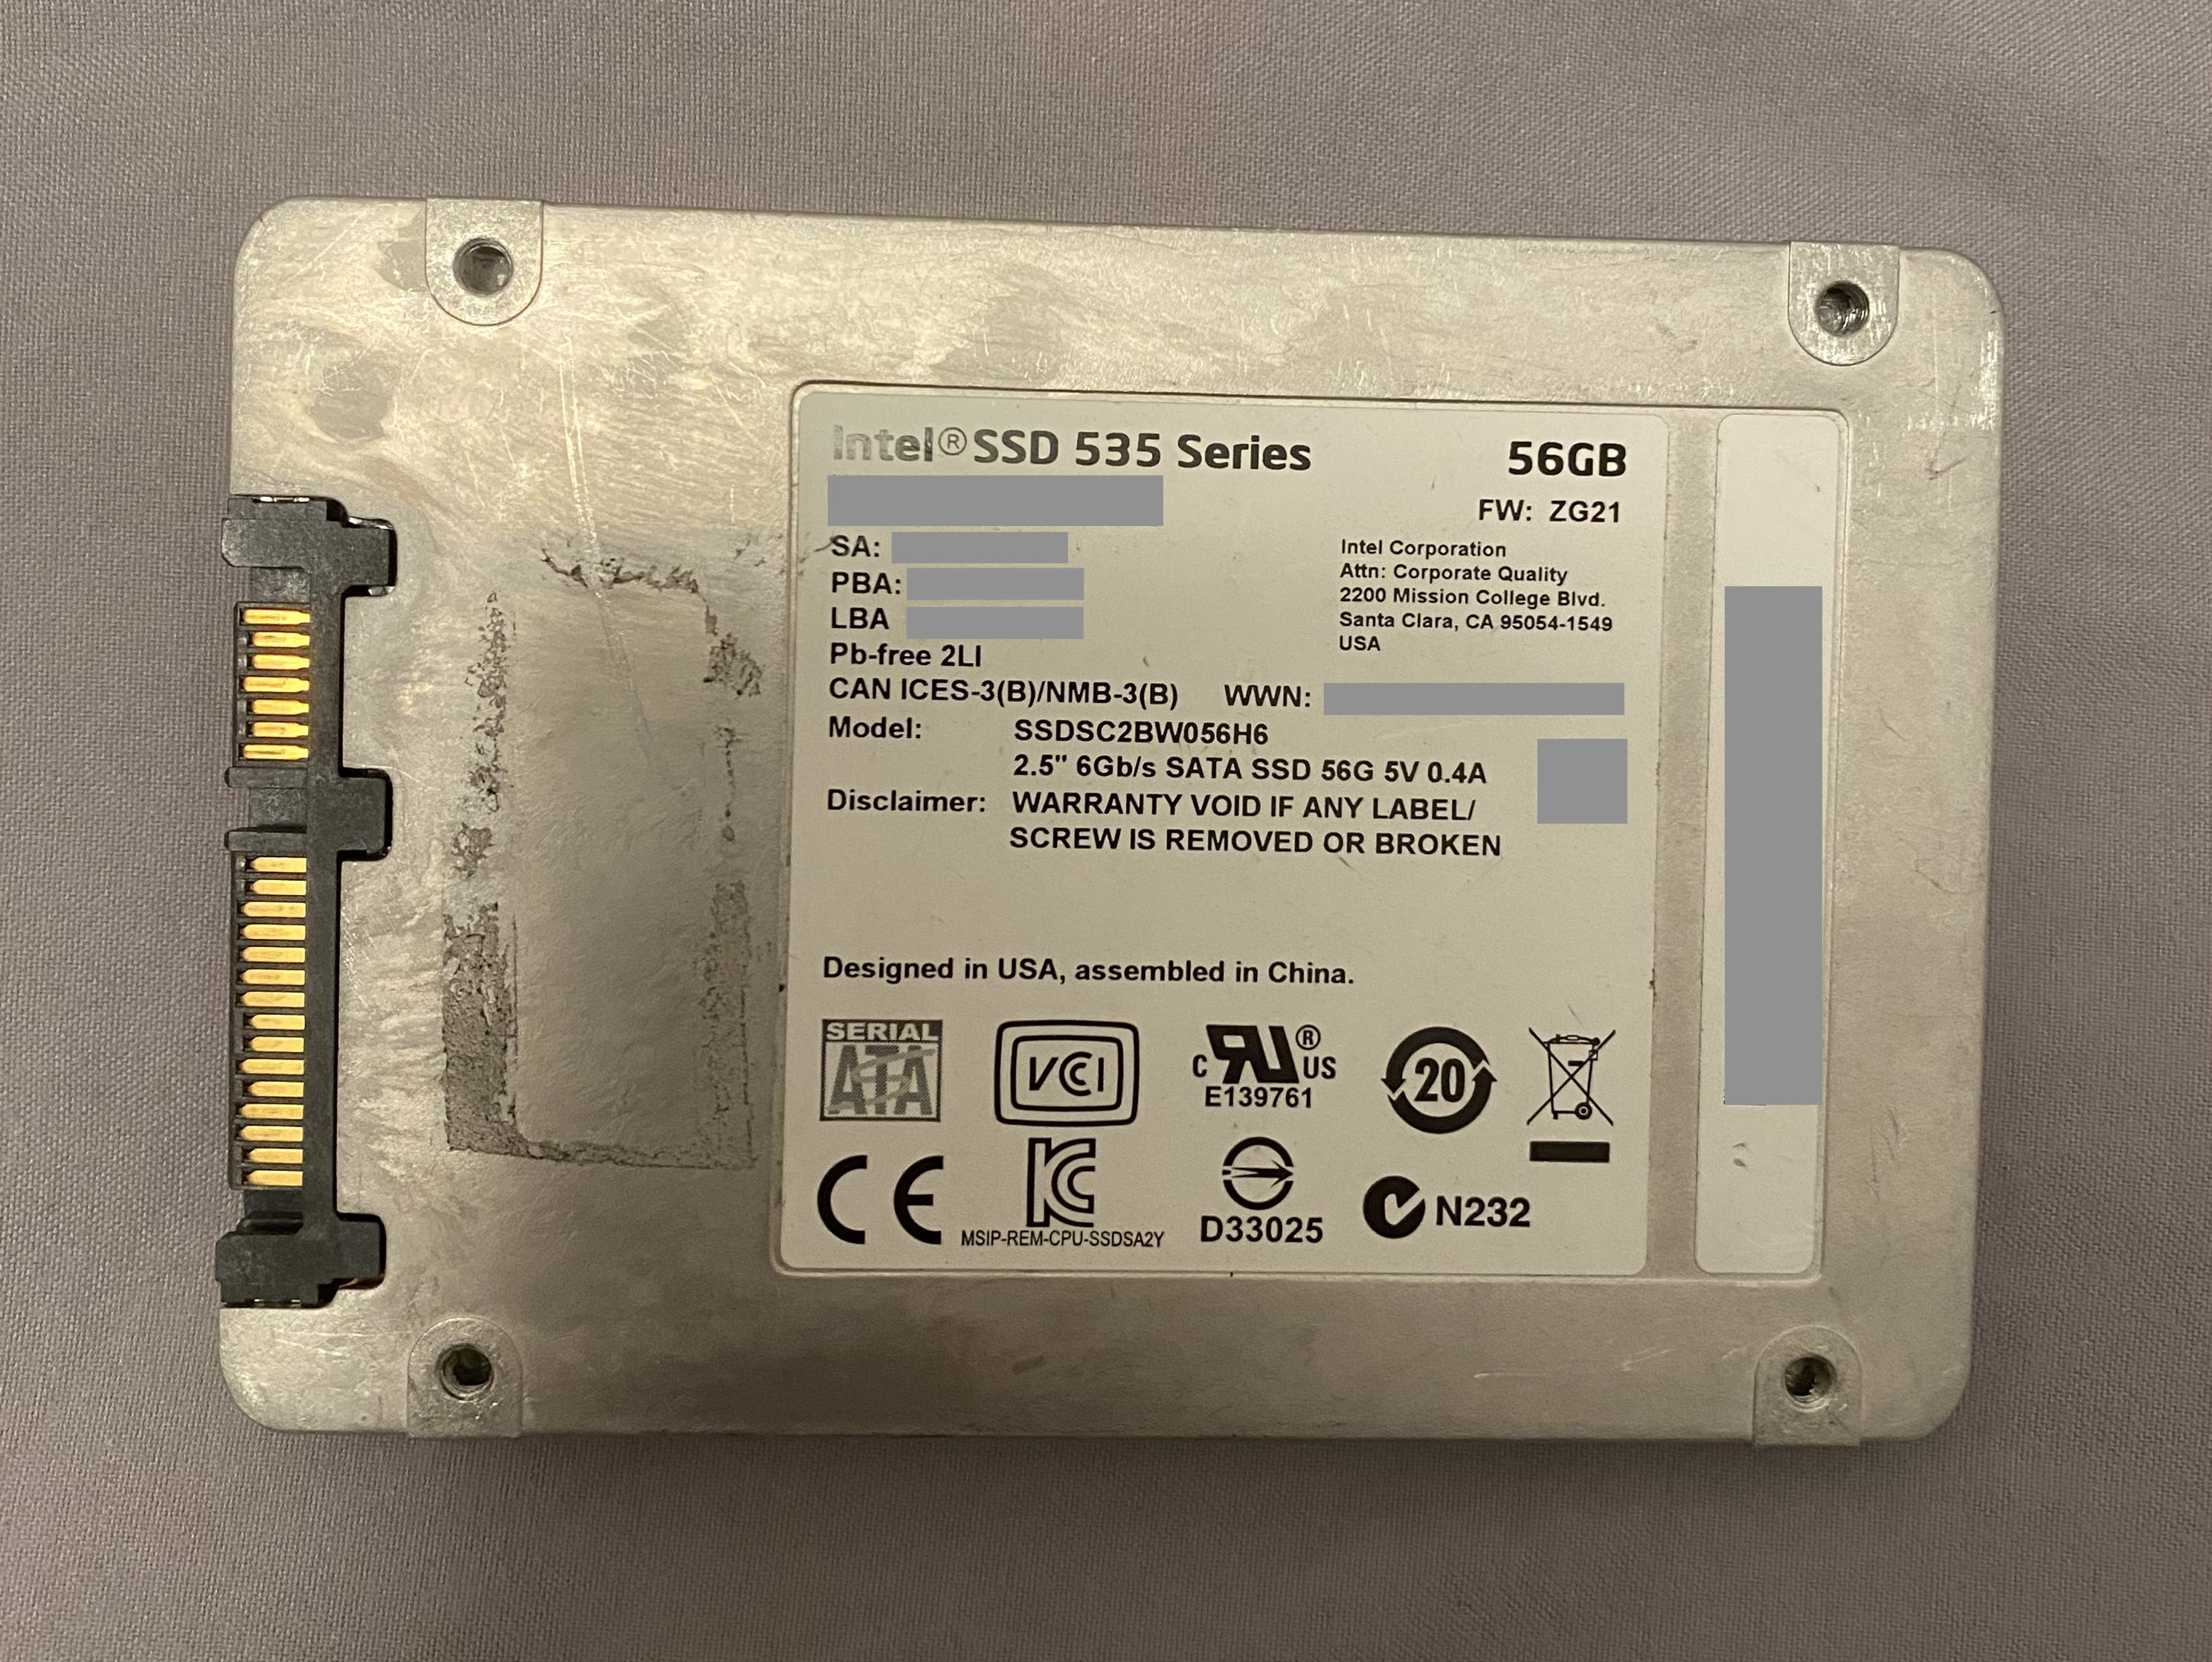
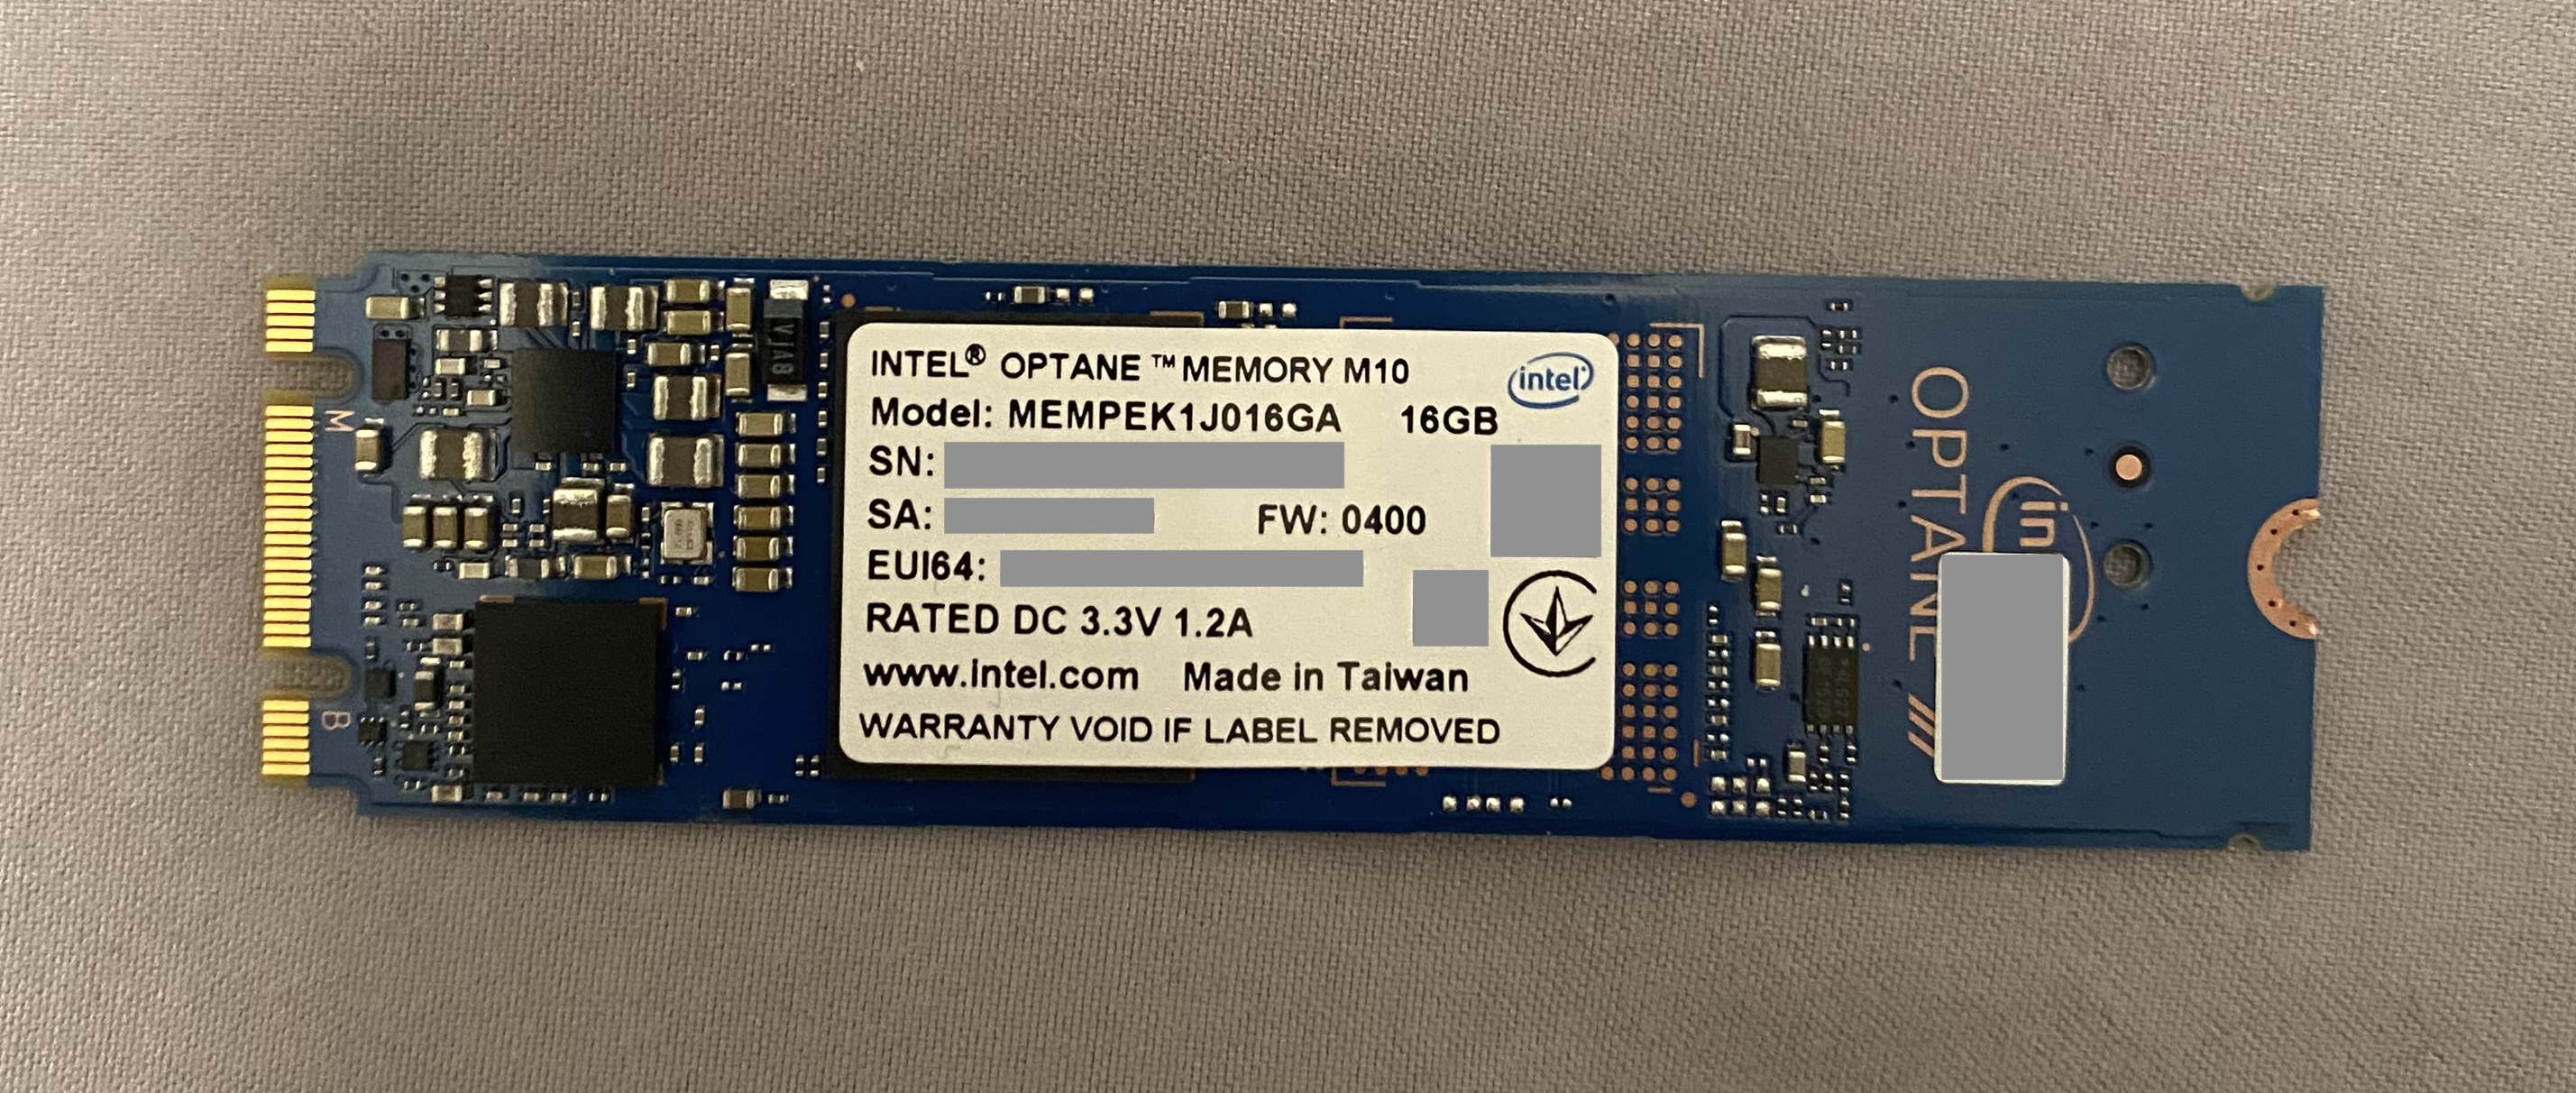
| Drive | Power On Hours | Data Read | Data Write |
|---|---|---|---|
| ada1 | 9,989 | 24.84 TiB | 10.62 TiB |
| da0 | 5,307 | 1.16 TB | 2.44 TB |
Power supply
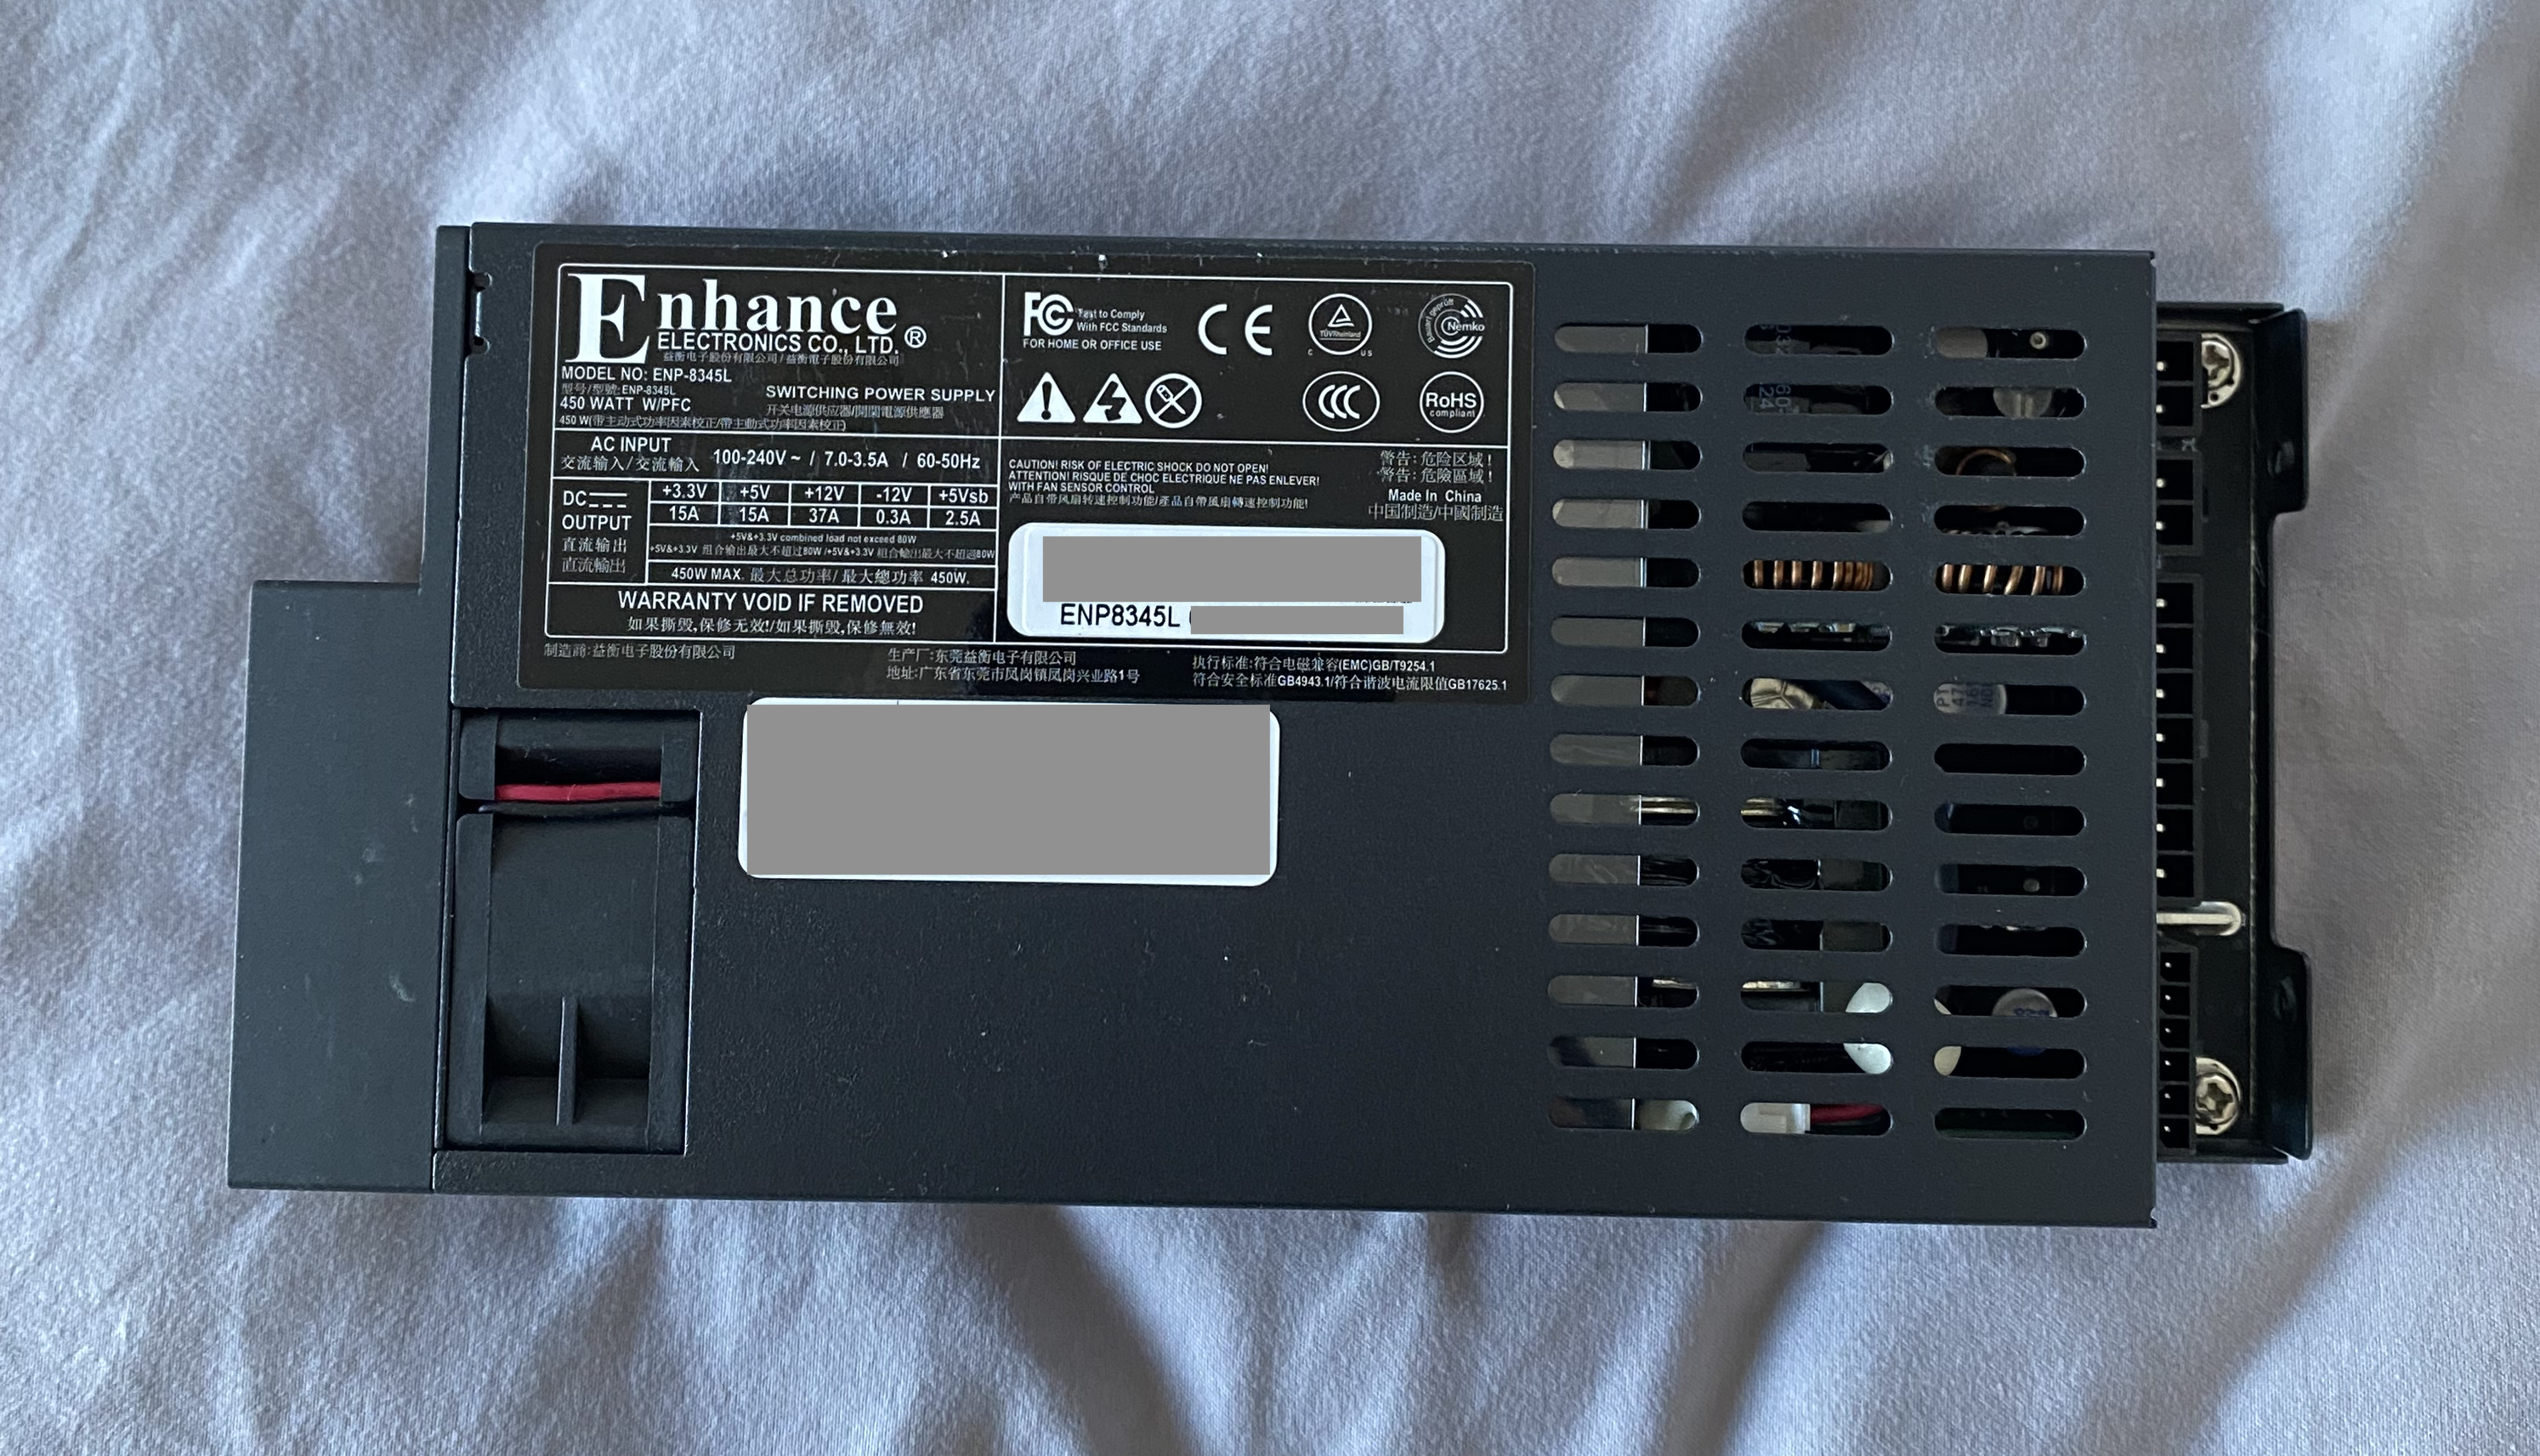
The 450-watt PSU may seem overkill for this system, but options are limited in such a small 1U/FLEX form factor. I am not using staggered spin-up for the drives, so they all power on simultaneously during boot, resulting in significant peak power usage.
I am concerned about the SATA power cable since all drives connect to a single cable (PSU → Molex → 5 SATA → another 4 SATA). There's a risk it could melt, and I may need to use the second SATA power cable directly from the PSU, which currently powers the boot drive inside the aluminum chassis.
∎
